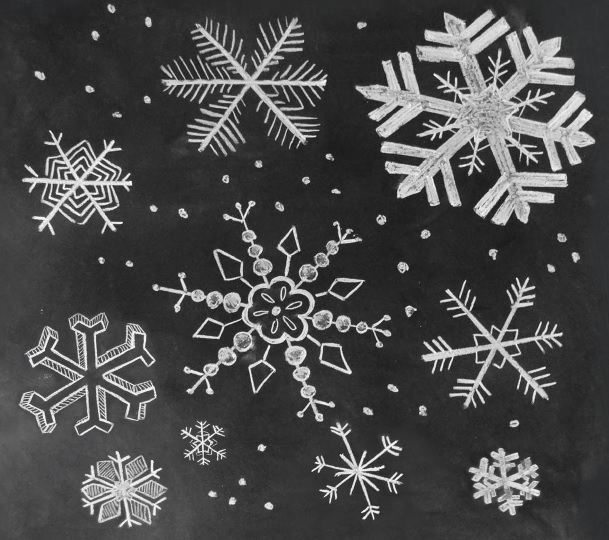
Snowflakes can be the main focus of your winter designs or used as tiny embellishments for interest and balance. The beauty of hand-drawn snowflakes is that no two will ever be the same-just like in nature.
SIMPLE SNOWFLAKES
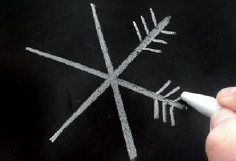
A basic snowflake shape is comprised of six points or three lines converging together.
INSTRUCTIONS:
1. Draw an “X” shape, then draw one more line through the “X.” Thicken these lines as desired.
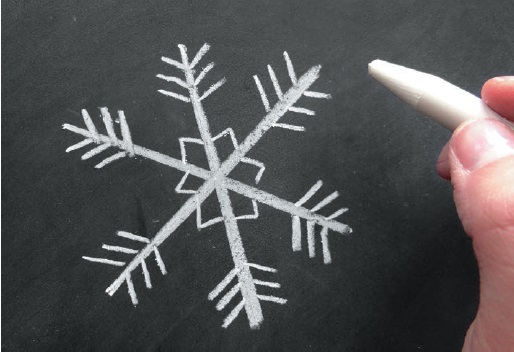
2. Add six tiny off-shooting lines to each main line to create a very simple snowflake.
3. Draw triangles between each main line in the center to connect them.
THICK SNOWFLAKES
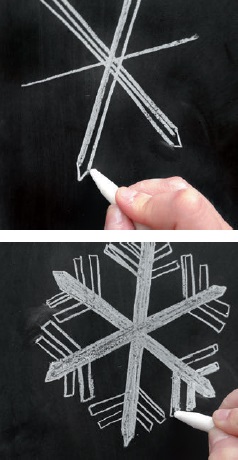
Now, let’s take this main concept and draw it in a different, bolder way.
INSTRUCTIONS:
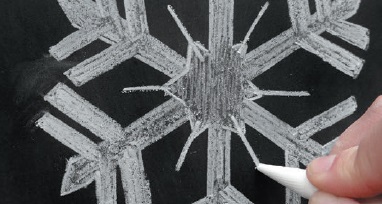
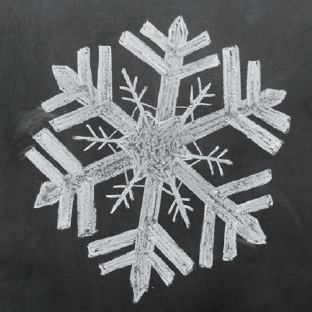
1. Instead of thin main lines, create thick lines that come to a point on the ends. Add two off-shooting lines at each point, making these thick as well.
2. Connect the lines in the center with triangles as we did before, but this time, lightly fill in the space and draw thin lines branching off of each triangle point.
3. Continue adding intricacies by drawing tiny offshooting lines in the center and another connecting string of triangles.
Excerpted from The Complete Book of Chalk Lettering by Valeria McKeehan. Copyright © 2015. Photographs by Lily & Val, LLC.
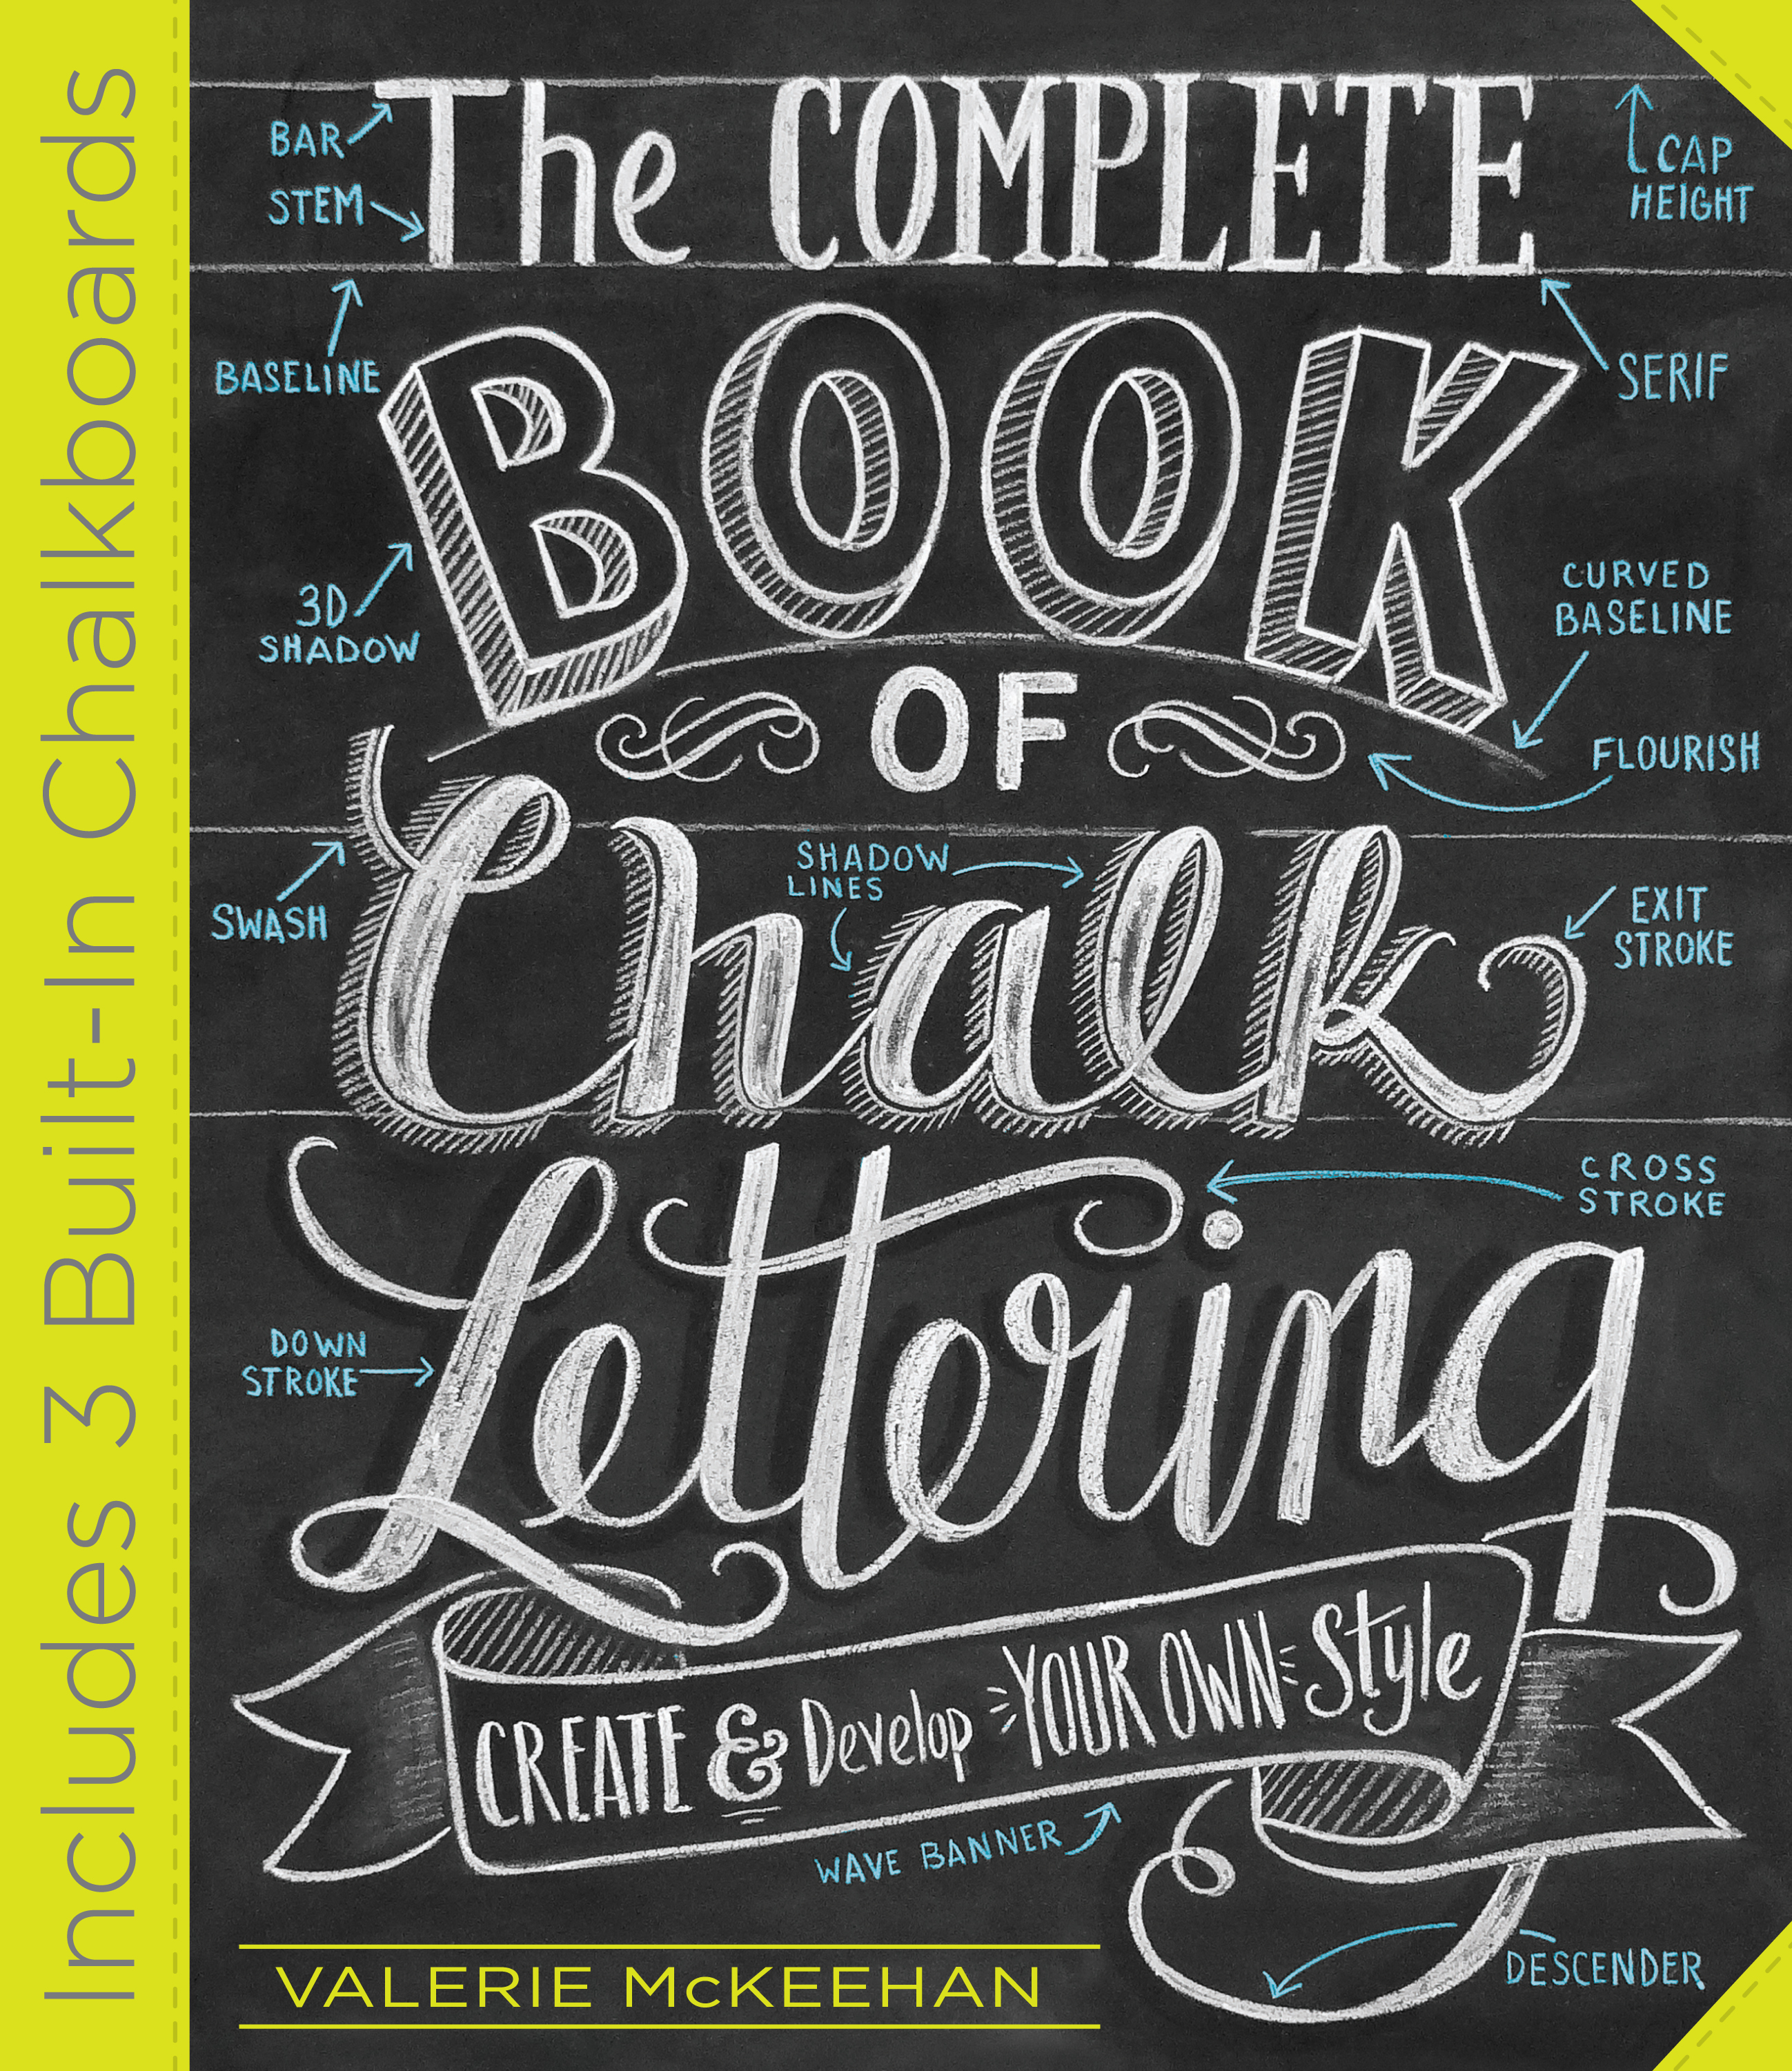
The Complete Book of Chalk Lettering
by Valeria McKeehan
Ubiquitous at boutiques and cafés, on Etsy and Pinterest, in stationery and home decor, the art of chalk lettering is hotter than ever. Valerie McKeehan, an Etsy standout whose work has been featured in magazines and websites from Good Housekeeping to RealSimple.com, teaches us everything we need to know to create gorgeous hand-drawn chalk designs. The book is also a practice space, with three foldout “chalkboards”—the inside cover and foldout back cover are lined with blackboard paper.
GET THE BOOK: Amazon | B&N | IndieBound | Workman


No Comments