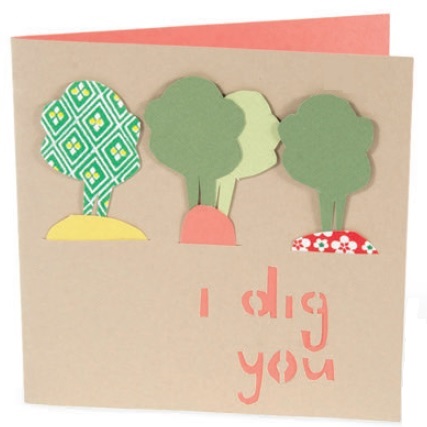
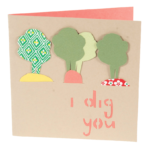
What to do when you want to say “I love you,” but you just can’t bear to send another cheeseball, syrupy-sweet card from the stationery store? Before you submit yourself or your loved one to those well-rehearsed sentimental platitudes, grab some paper and scissors and try this silly but heartfelt pun on for size.
I Dig You Card
What You Need:
Ruler
Craft knife
Self-healing cutting mat
2 sheets of colored paper (81⁄2″ × 11″) in different shades
Bone folder
Access to a computer with a printer and paper
Words and veggies templates (download at workman.com/papermade)
Pencil
Small scraps of paper (at least 4″ × 4″) in various colors
Glue stick
INSTRUCTIONS:
1. Use the ruler, craft knife, and cutting mat to cut a 10″ × 5″ rectangle from each sheet of paper. Set aside the excess paper.
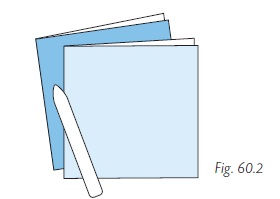
2. Fold each rectangle in half to make a square, and crease the folds neatly with the bone folder (fig. 60.2).
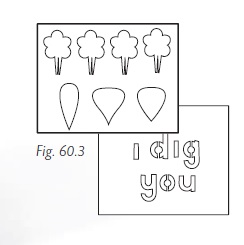
3. Print and cut out the words and veggies templates (fig. 60.3).
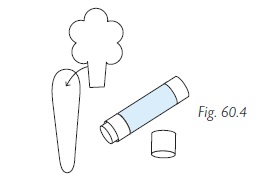
4. Trace three veggies and four greens templates onto scraps of paper. Cut out the shapes and apply glue stick to the top back of each veggie to attach the greens (two greens for each veggie) (fig. 60.4).
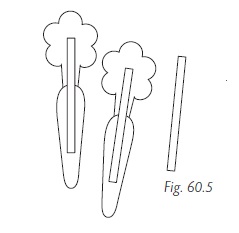
5. From the paper left over in step 1, cut three 1⁄4″ × 3″ strips. Glue each one vertically along the back of each of the veggies to make them more stable (fig. 60.5).
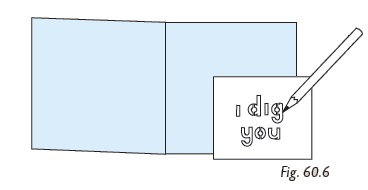
6. Select one of the folded pieces from step 1 to be the outside of the card. Unfold it and lay it flat. Layer the words template over the front outside of the card and trace with a pencil (fig. 60.6).
7. Use the craft knife to carefully cut out the words.
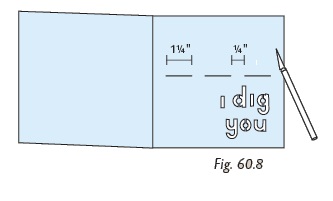
8. Use the ruler and pencil to mark a horizontal line along the center of the front of the card. Cut three slits about 11⁄4″ wide and 1⁄4″ apart along the line in the card (fig. 60.8). (These are pockets for the
veggies.)
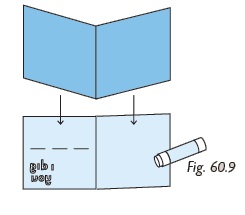
9. Flip the card over and line the perimeter of the card with glue stick. Press the remaining folded piece from step 1 inside the outer card and press together along the edges (fig. 60.9). Let dry.
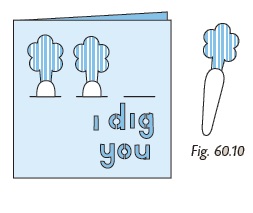
10. Refold the card and tuck the veggies into the slits on the front (fig. 60.10).
Excerpted from Paper Made by Kayte Terry (Workman Publishing). Copyright © 2012. Photograph by Melissa Lucier. Illustrations by Sophie Nicolay.
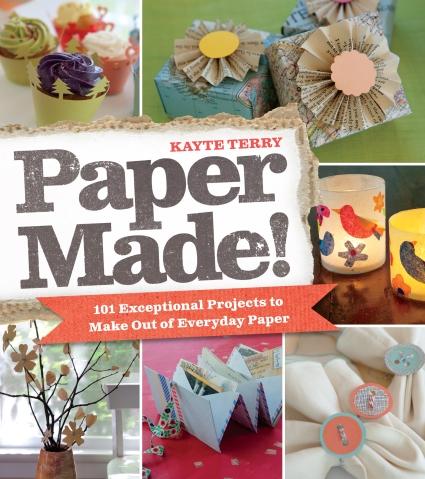
by Kayte Terry
Announcing the biggest, best, most innovative book ever on paper craft. Even better, this is not about how to use costly, artsy paper, but how to turn stuff around the house—magazines and shopping bags, candy wrappers and paint sample cards, wrapping paper, old maps, and paper towel tubes—into stunning jewelry, gifts, home de´cor, party favors, and much more.
GET THE BOOK: Amazon | B&N | IndieBound | Workman

No Comments