This blog post was written by editorial intern Rachel, who definitely recommends cookies as a means to christen a new kitchen, but advises you to keep an eye out for mice.
Chewy Gingersnaps
‘Tis the season for holiday parties, potlucks, gifting, Christmas lights (e.g. the ones all over my apartment), and, of course, cookie swaps. What is a cookie swap, you might ask? If you missed editorial intern Perry’s Bittersweet Decadence Cookies post from last week, let me catch you up a little: every year at the Workman holiday party, we all bring in a batch of homemade cookies, put them all out on a table, and then everyone can put together a box, providing families, roommates and (let’s be honest) ourselves with an assortment of homemade cookies for the holiday.
In honor of this delicious tradition, we’ll be posting a cookie recipe every Sunday from one of our cookbooks to provide you inspiration for your own cookie swaps! We’ll provide the recipes and talk a little bit about our cookie-baking experiences. Sound good? Then let’s get started!
This week’s recipe comes from the book that inspired our office tradition: Lauren Chattman’s Cookie Swap!
Lauren Chattman’s recipes have appeared in Food & Wine, Bon Appetit, Cook’s Illustrated, The New York Times, and Redbook, among others. This particular cookbook features over 35 cookie recipes, even savory ones (my roommate and I are clamoring to try to Savory Rosemary Pecan Sandies). In honor of the holiday season, I chose to make Chewy Gingersnaps. They’re not exactly “snaps” per se—hence the “chewy” name—but they do have the lovely spiciness of gingersnaps, so the name is still appropriate.
Full disclosure, I moved into my apartment only two days before making these cookies, so this was my first real culinary attempt in this kitchen. Luckily, I had my handy assistant/roommate, Michaela, to help me. Michaela declined to be photographed for this project, but just know that she was there, reading out steps and reminding me that molasses does not taste very good on its own, so I probably shouldn’t lick that spoon.
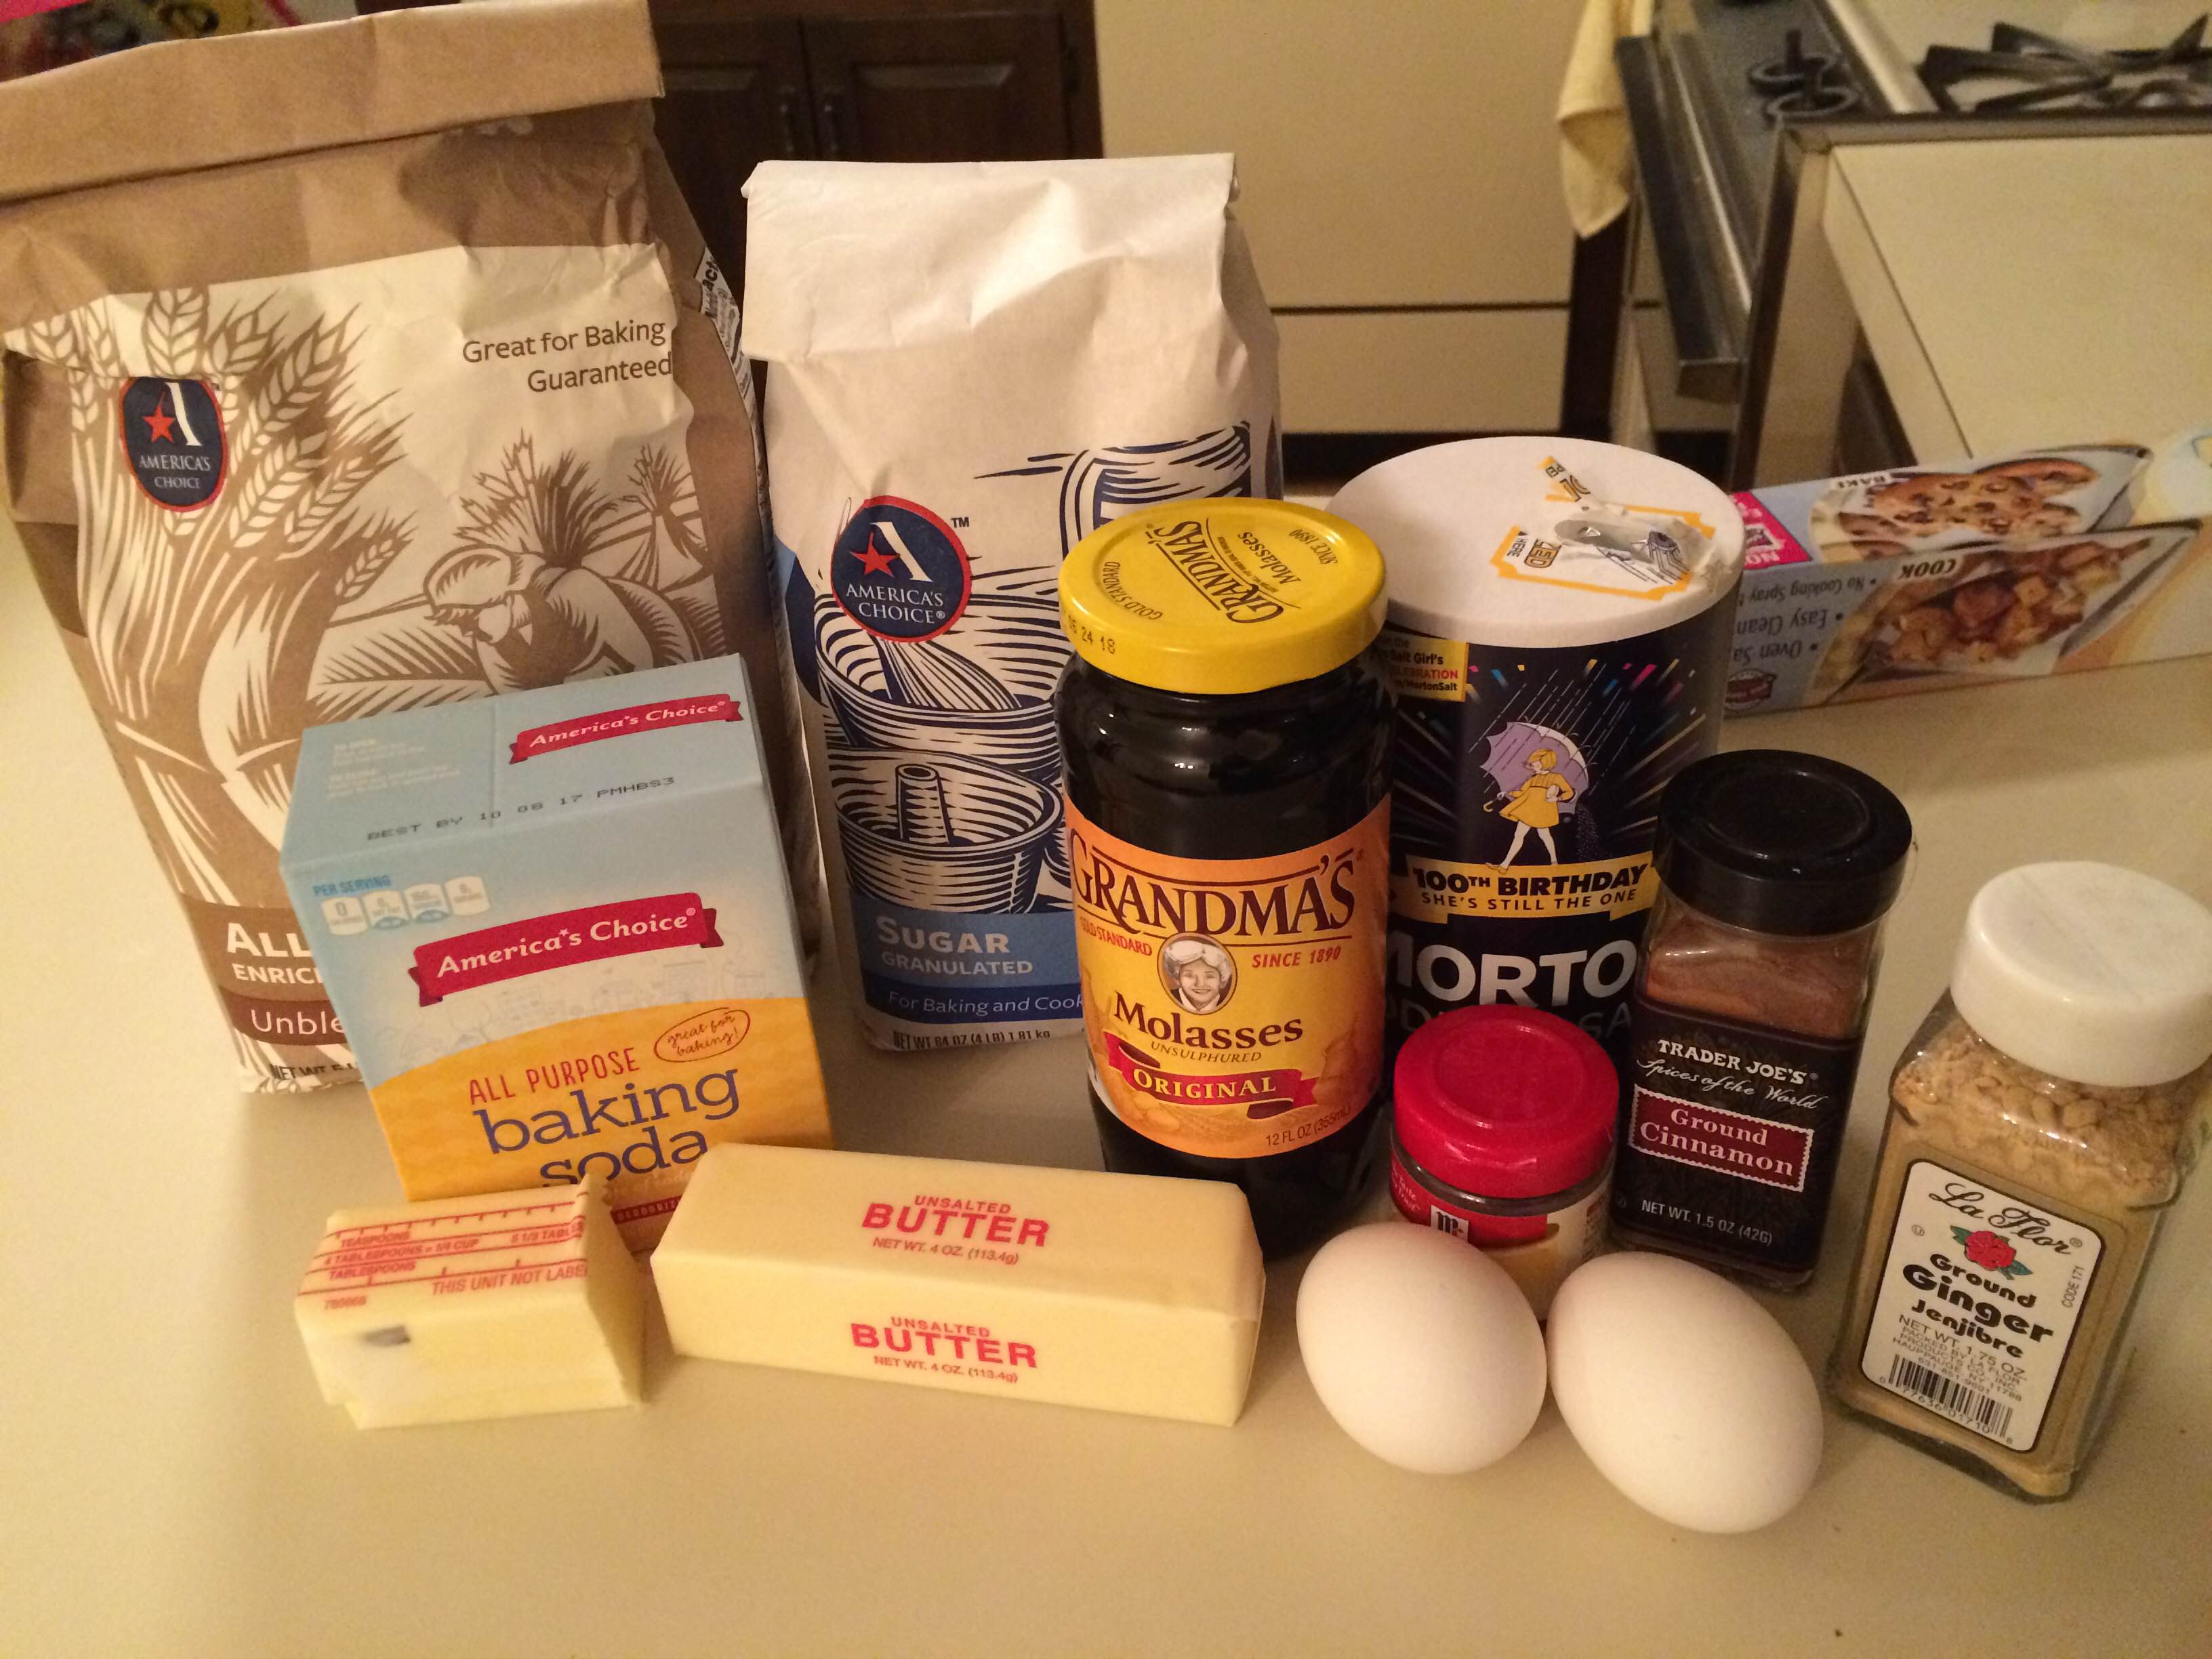
As with any significant cooking endeavor, we started by gathering our ingredients (listed, along with the complete recipe, at the end of this post):
Pro-tip: read ahead in your recipe. This one calls for the butter to melted and cooled. This is most likely because you will be mixing your melted butter with your eggs, and if the butter is too hot, the eggs will cook in the bowl. You don’t want that. So melt your butter a little bit in advance so that it has time to cool down.
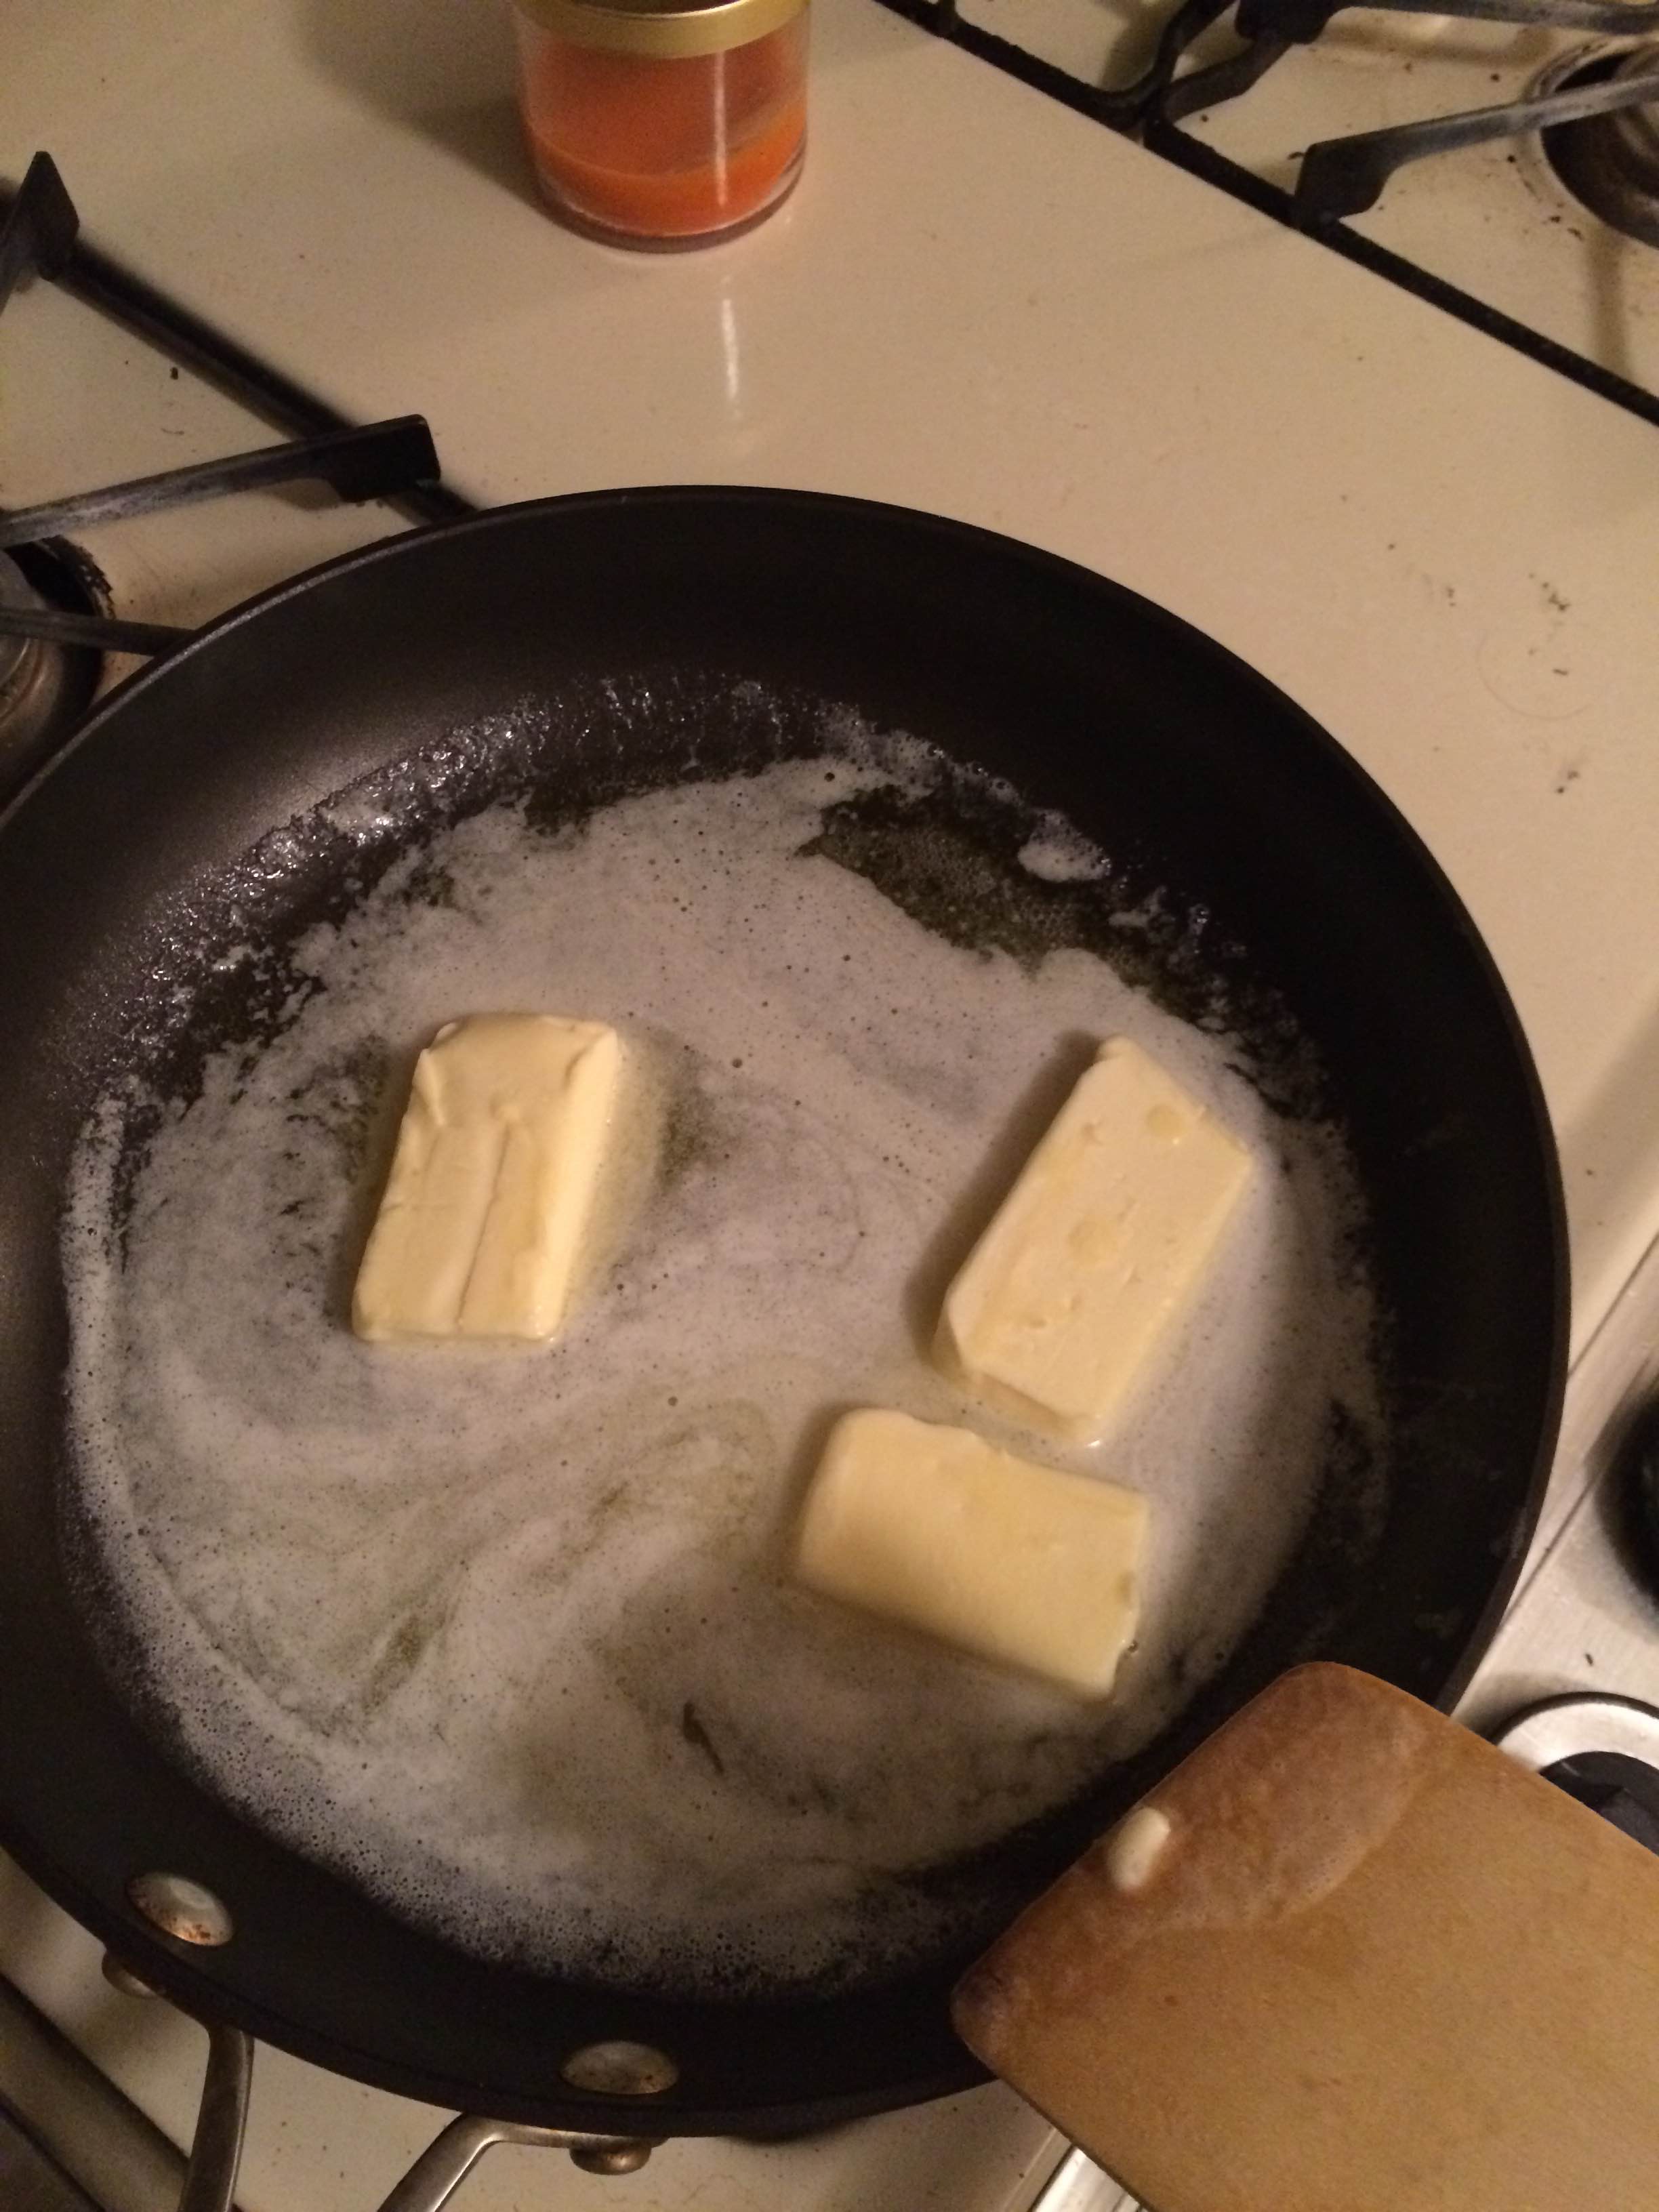
…or do what I did and just put in the fridge post-melting.
While the butter was cooling, we mixed together our dry ingredients—consisting of flour, ground ginger, cinnamon, cloves, salt, and baking soda—in a medium bowl.
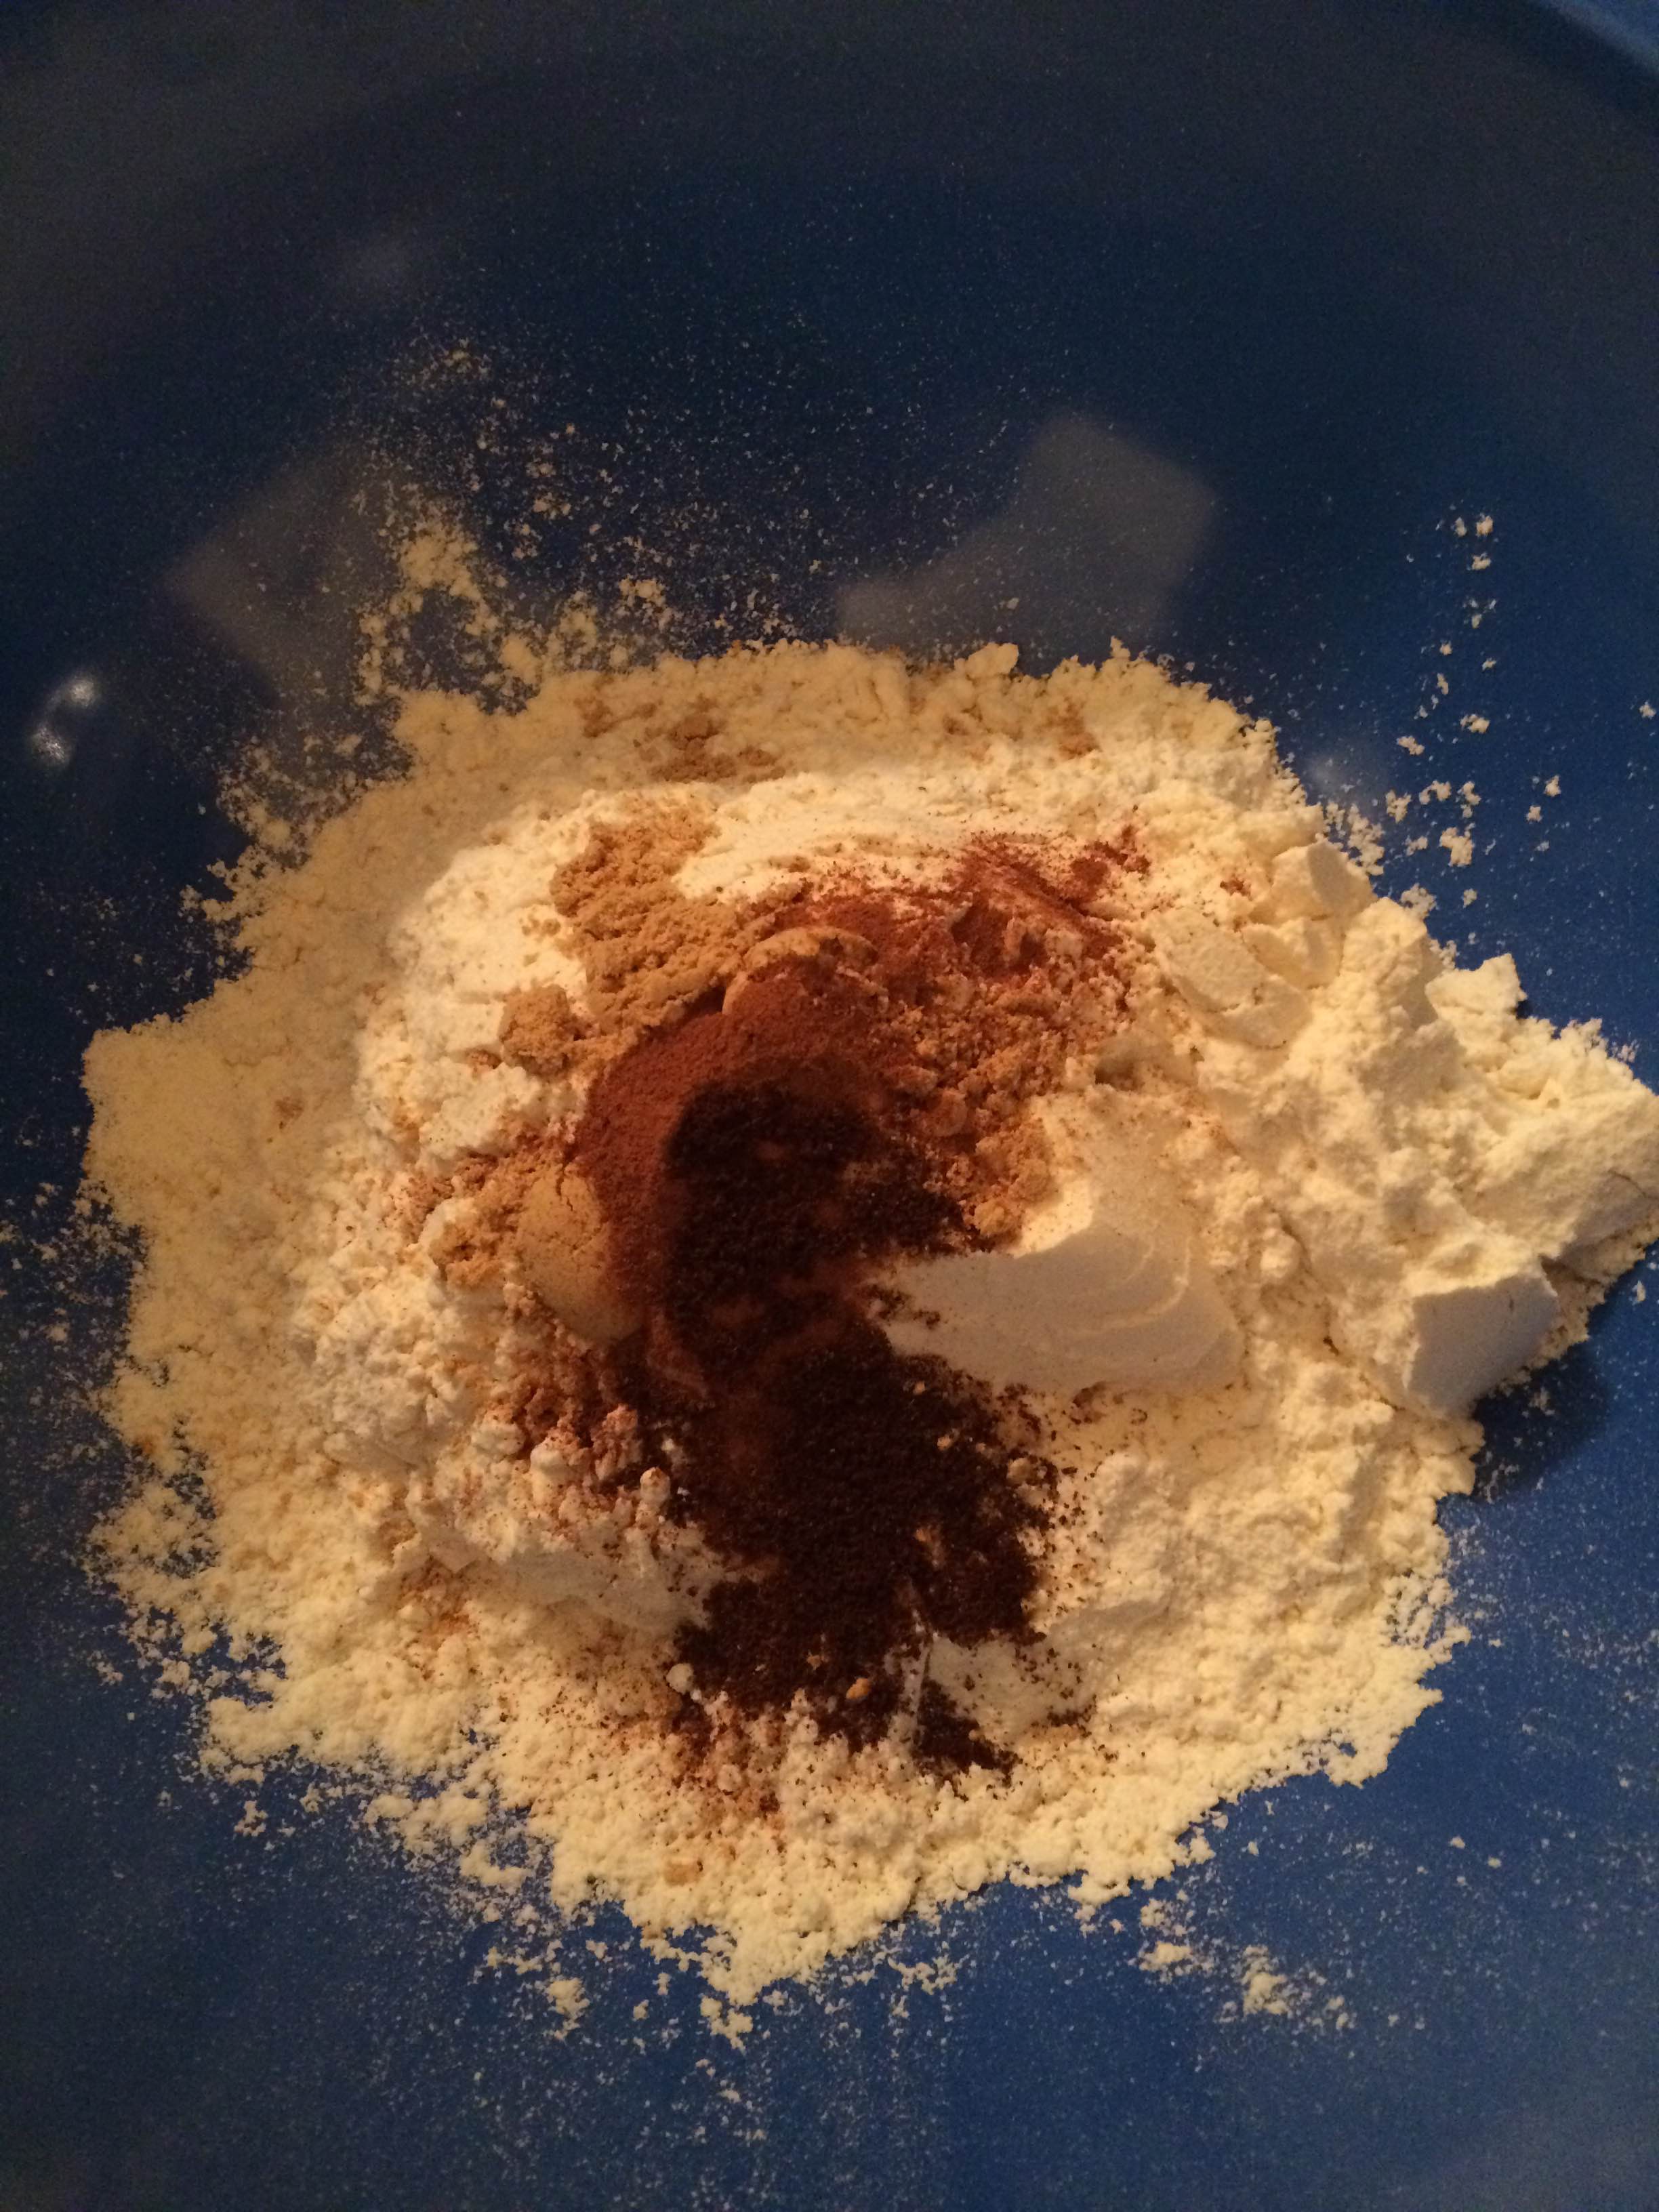
Pretty!
Next, in a large bowl, we mixed the melted butter (again, make sure it’s not too hot!), sugar, and molasses…
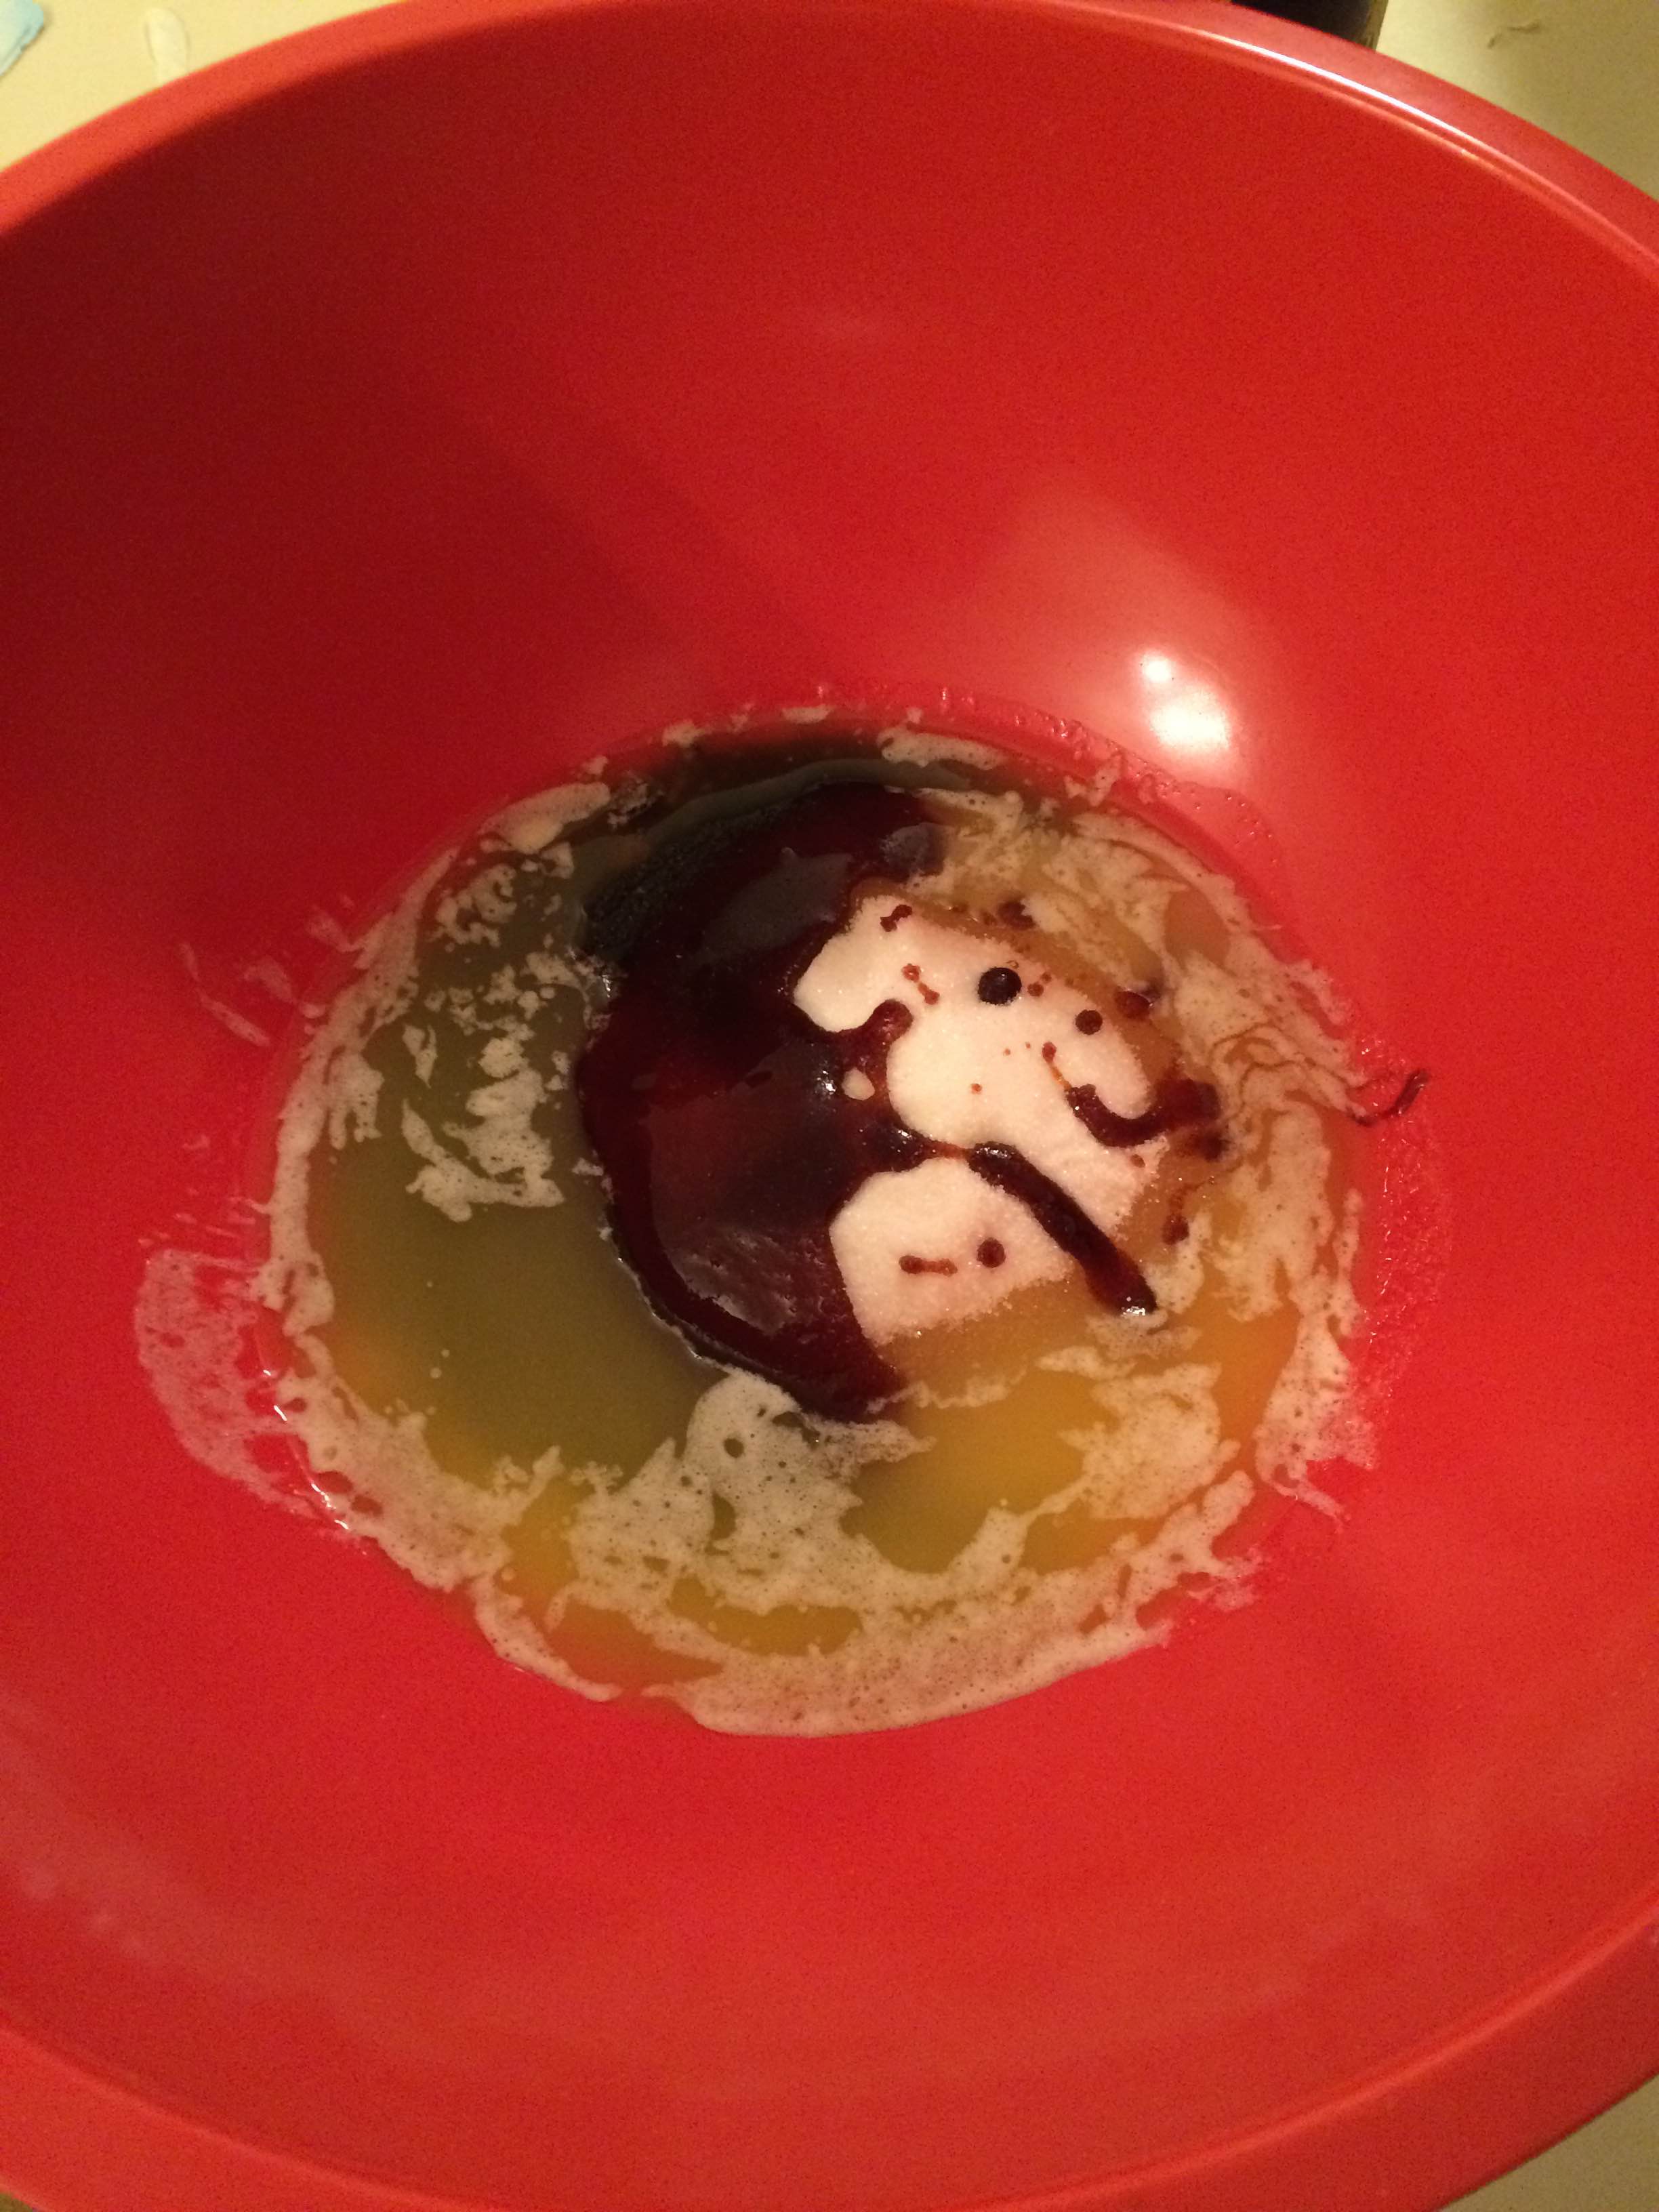
Molasses is weird, you guys.
…until smooth, and then added the eggs.
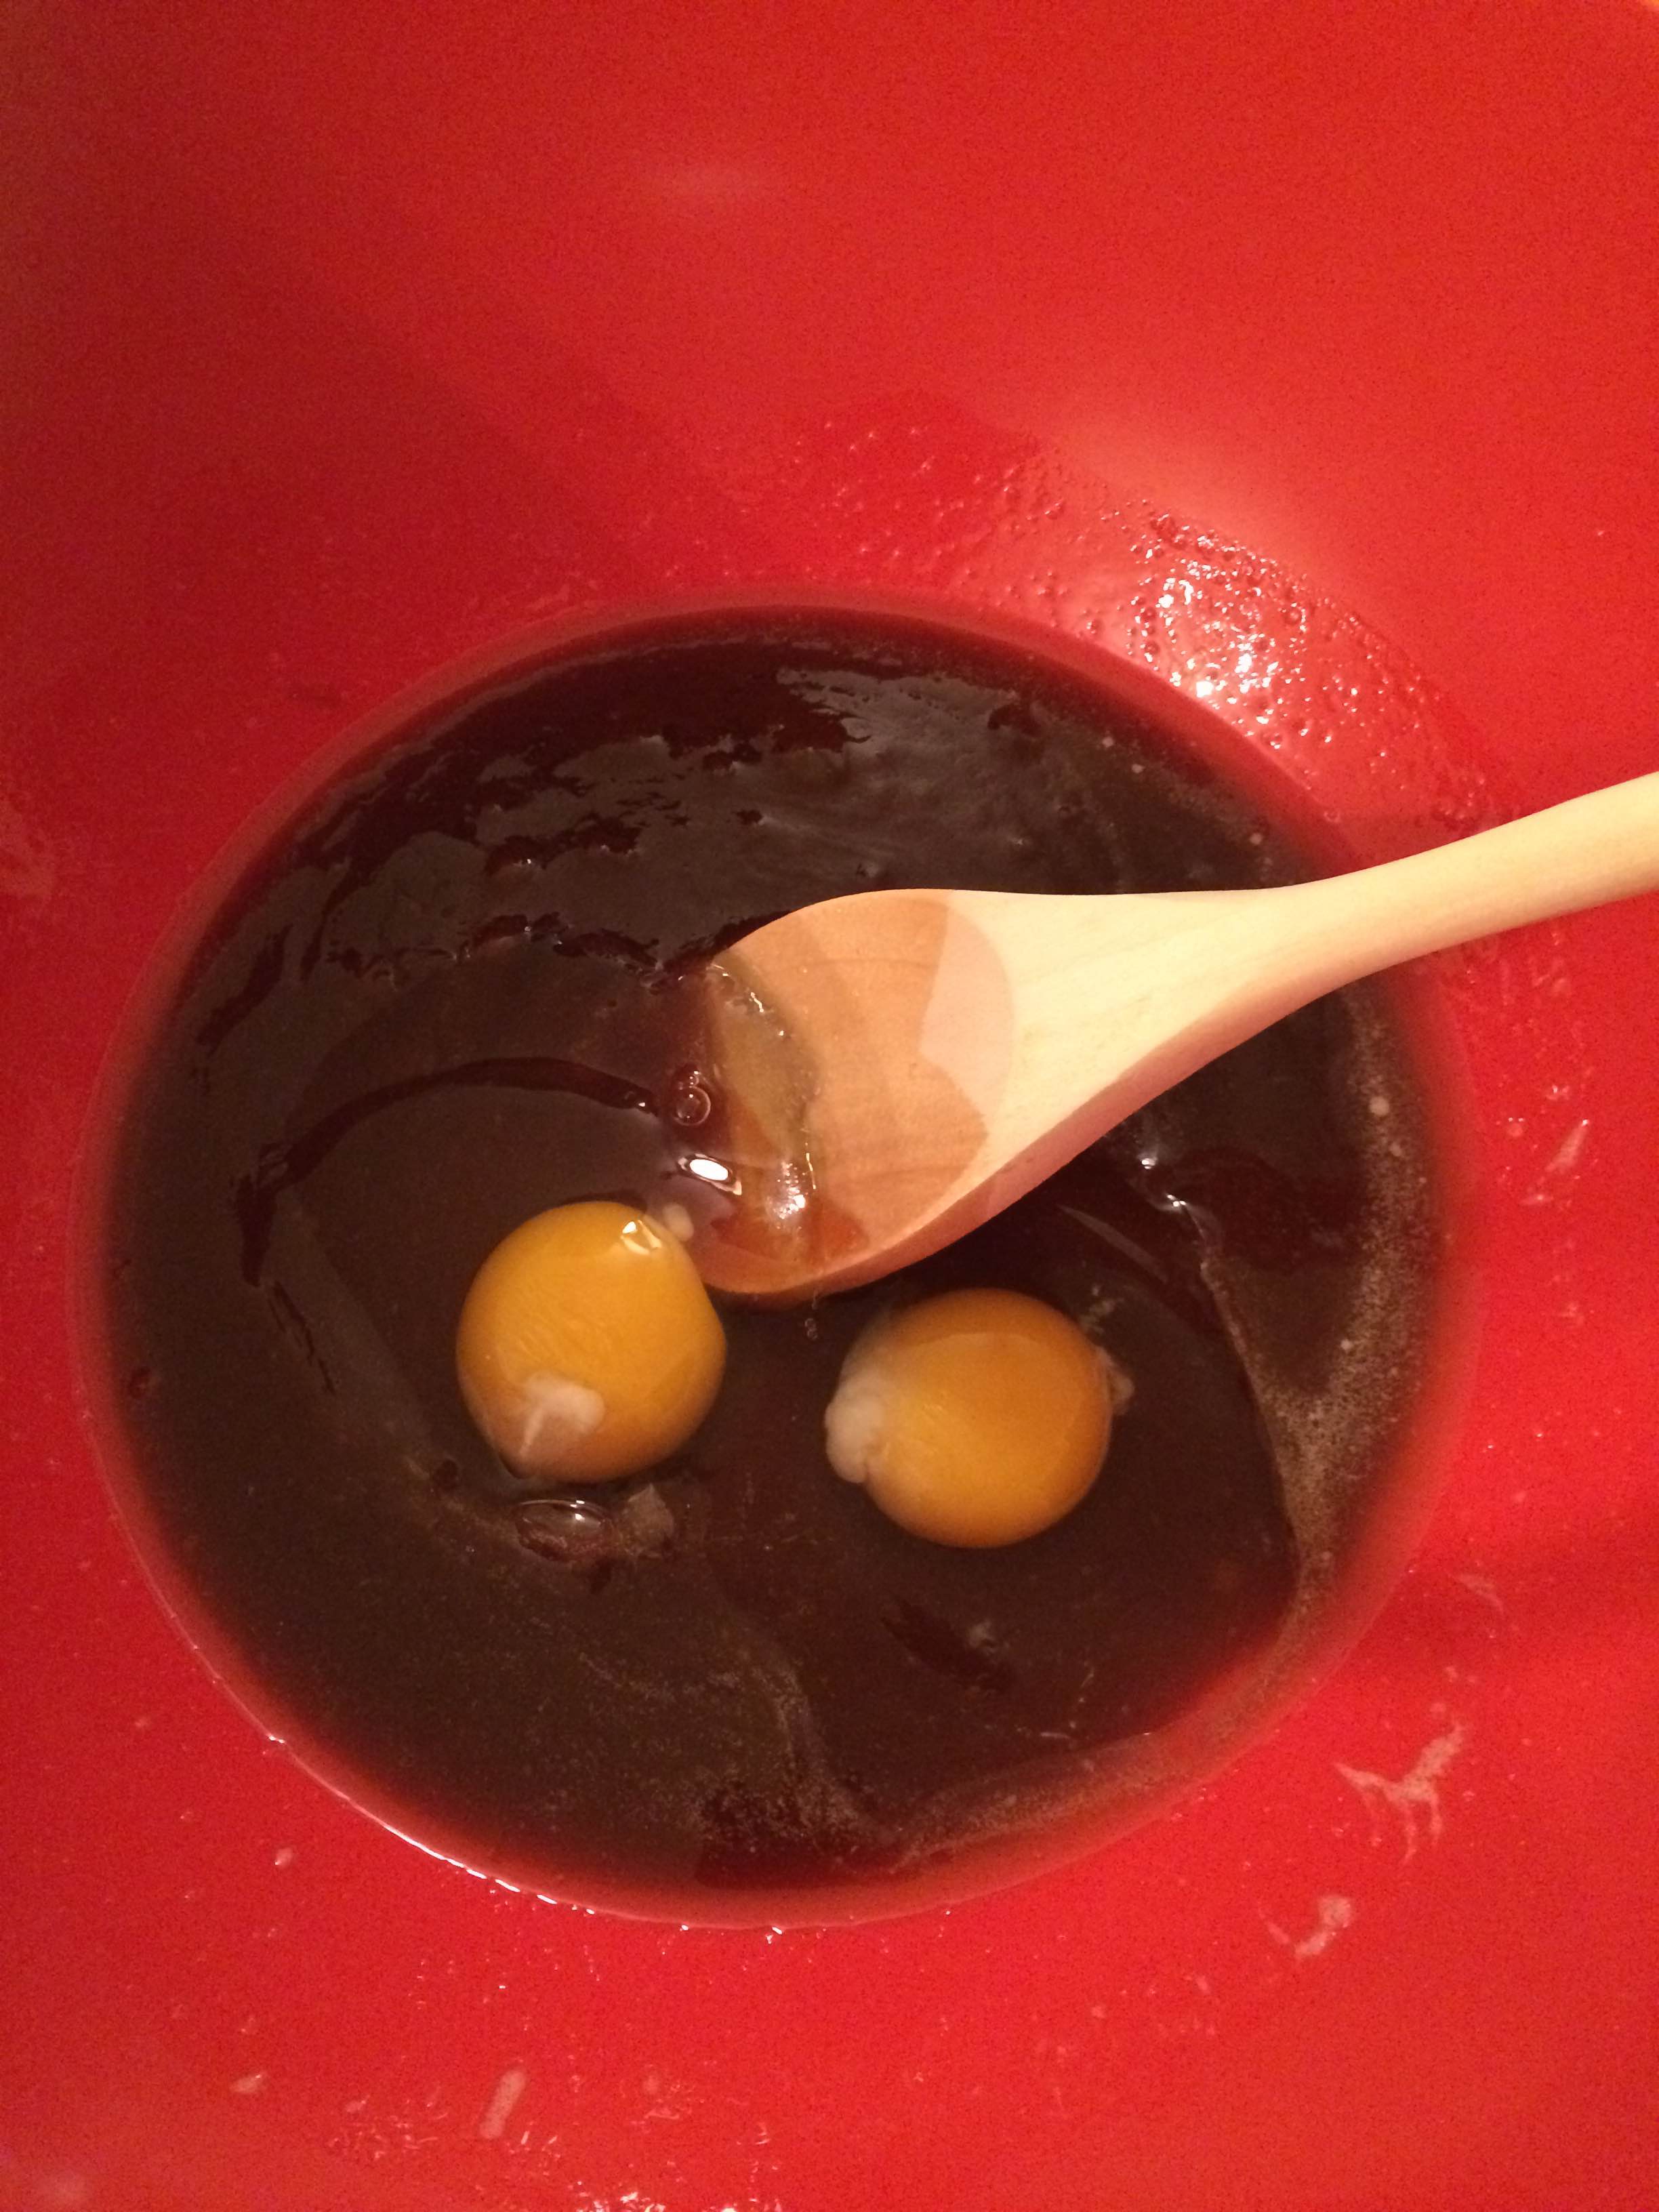
The recipe says you should beat in the eggs with an electric mixer, but we don’t have one of those. A wooden spoon may take longer and is certainly more of a workout, but it worked just fine. Once the mixture is smooth, we stirred in the dry ingredients (just dump ’em all in there at once) until just incorporated, making sure not to over-mix.
At this point, we needed to chill the dough for about ten minutes, but that’s all right because it gave us an opportunity to clean up the mess we had just made all over the counter…
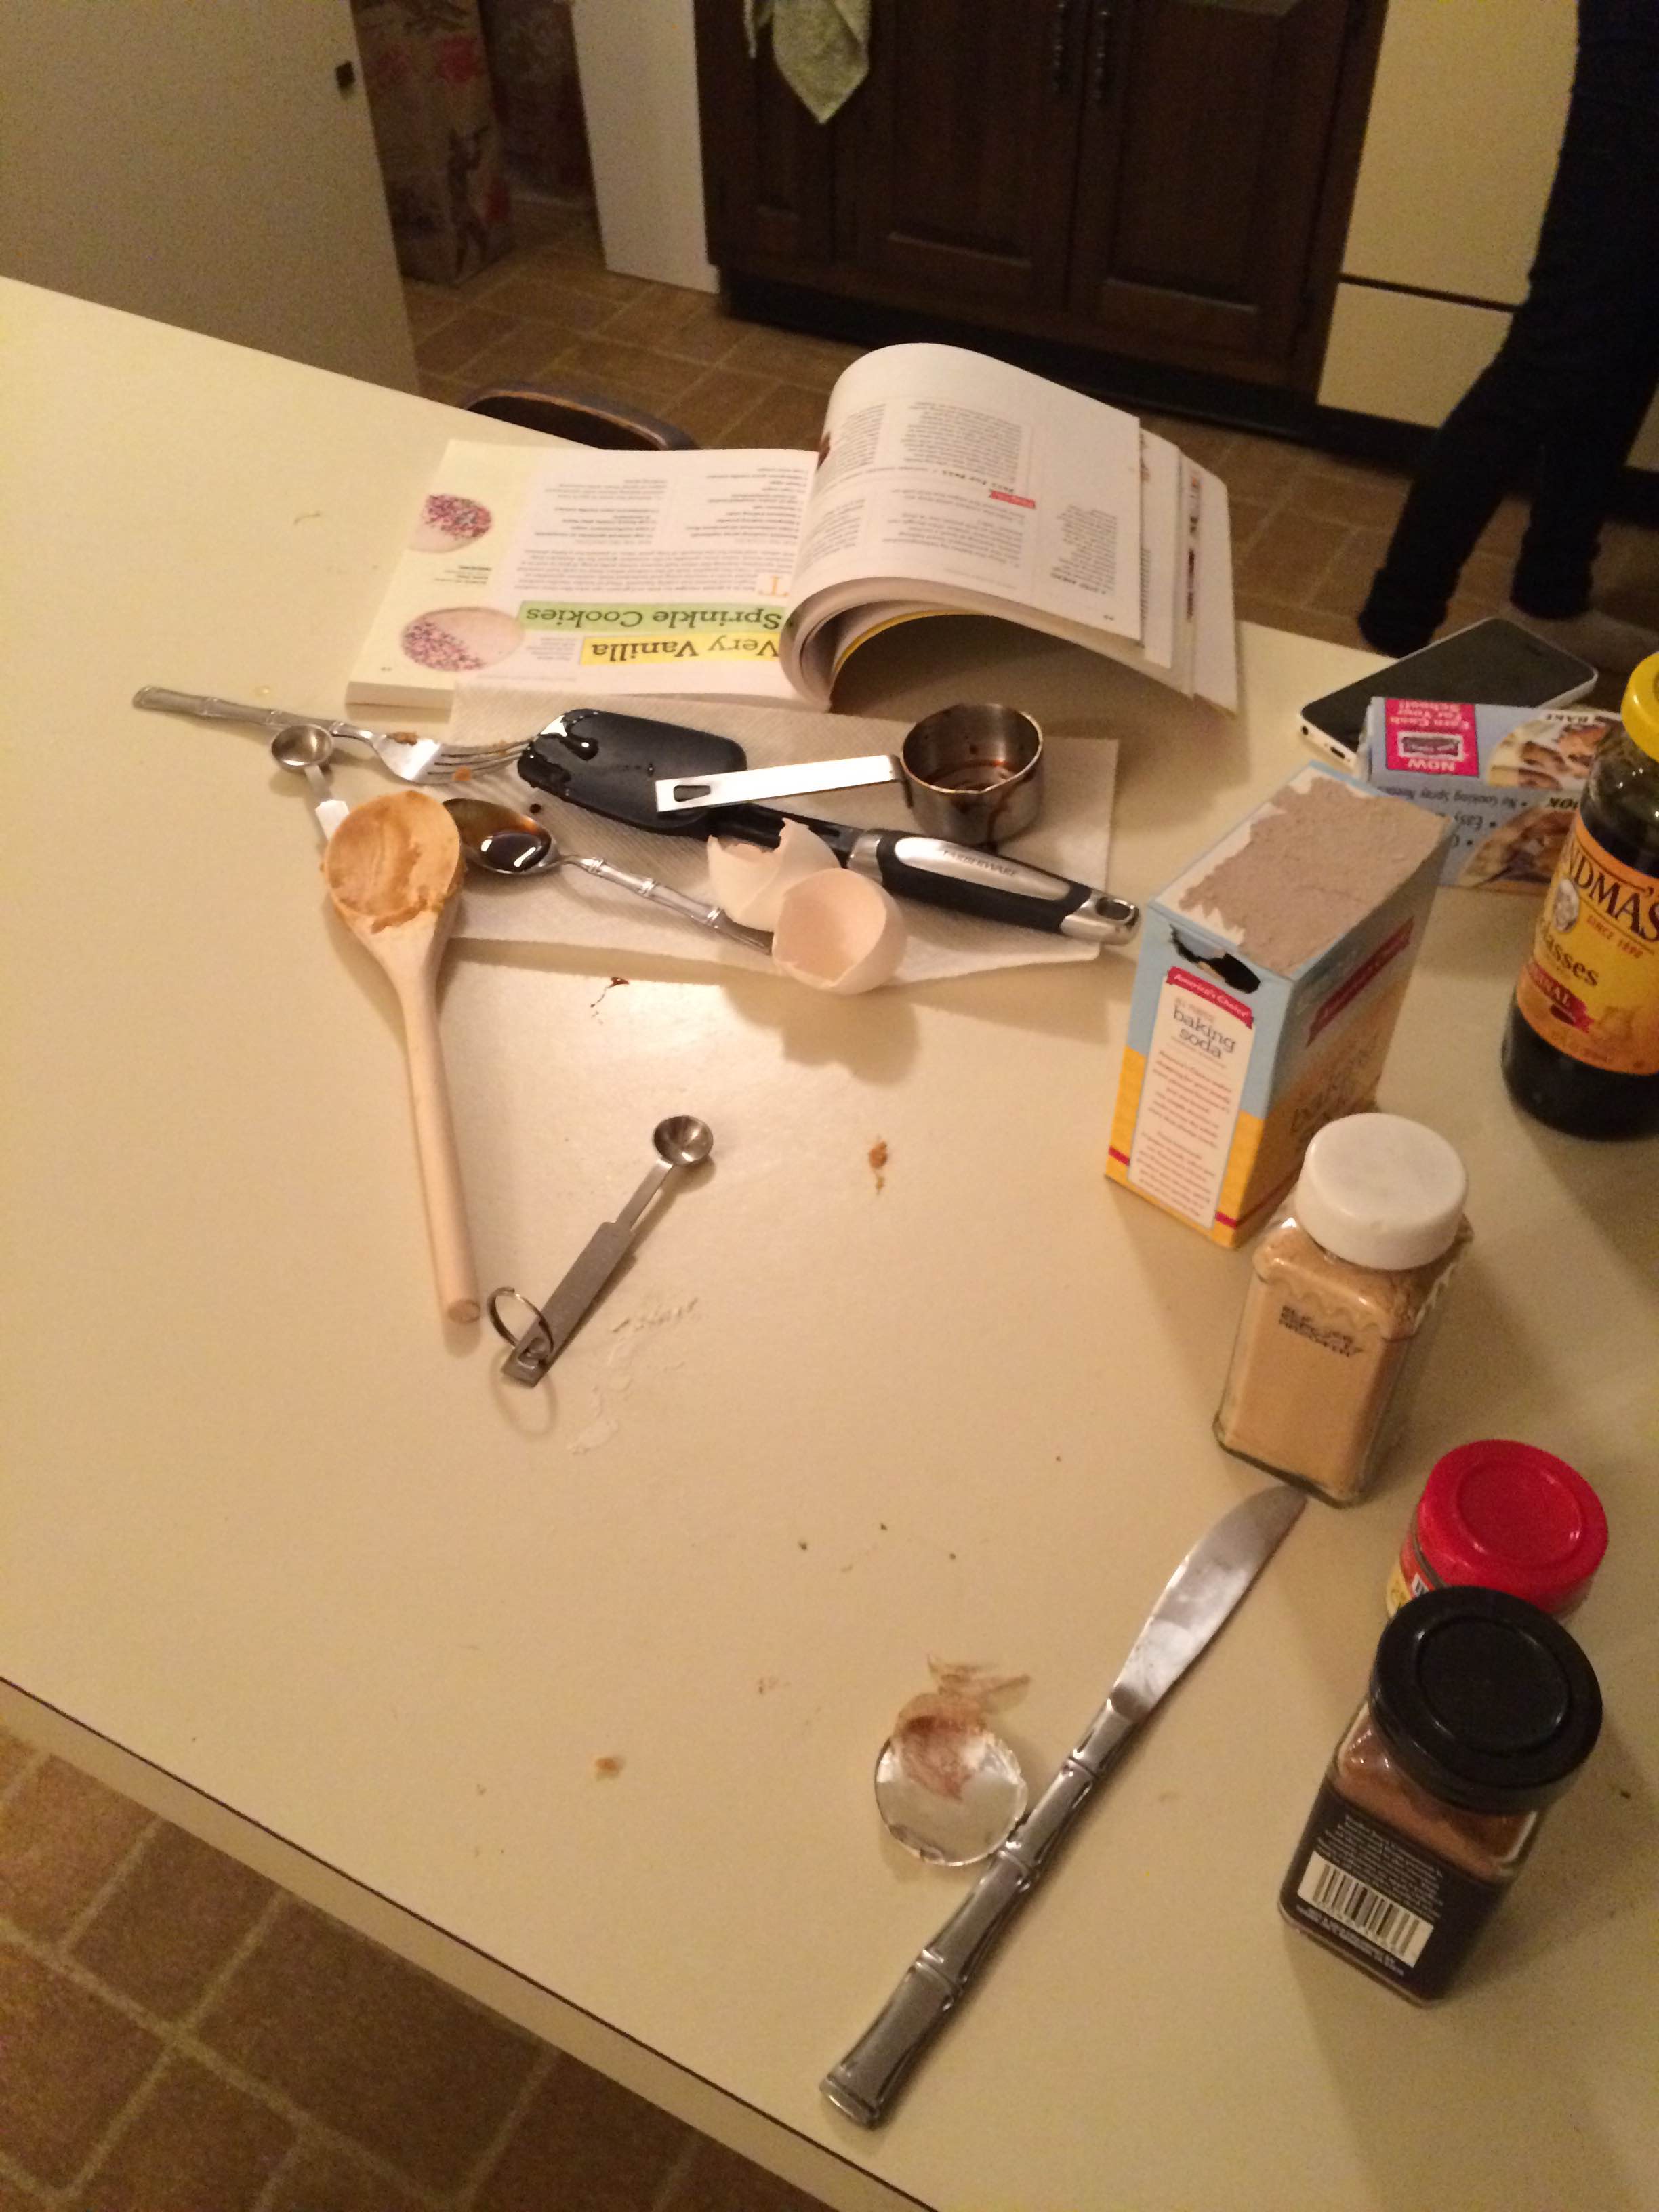
You can’t really tell, but there’s molasses on everything in this picture.
…and to clean some dishes.
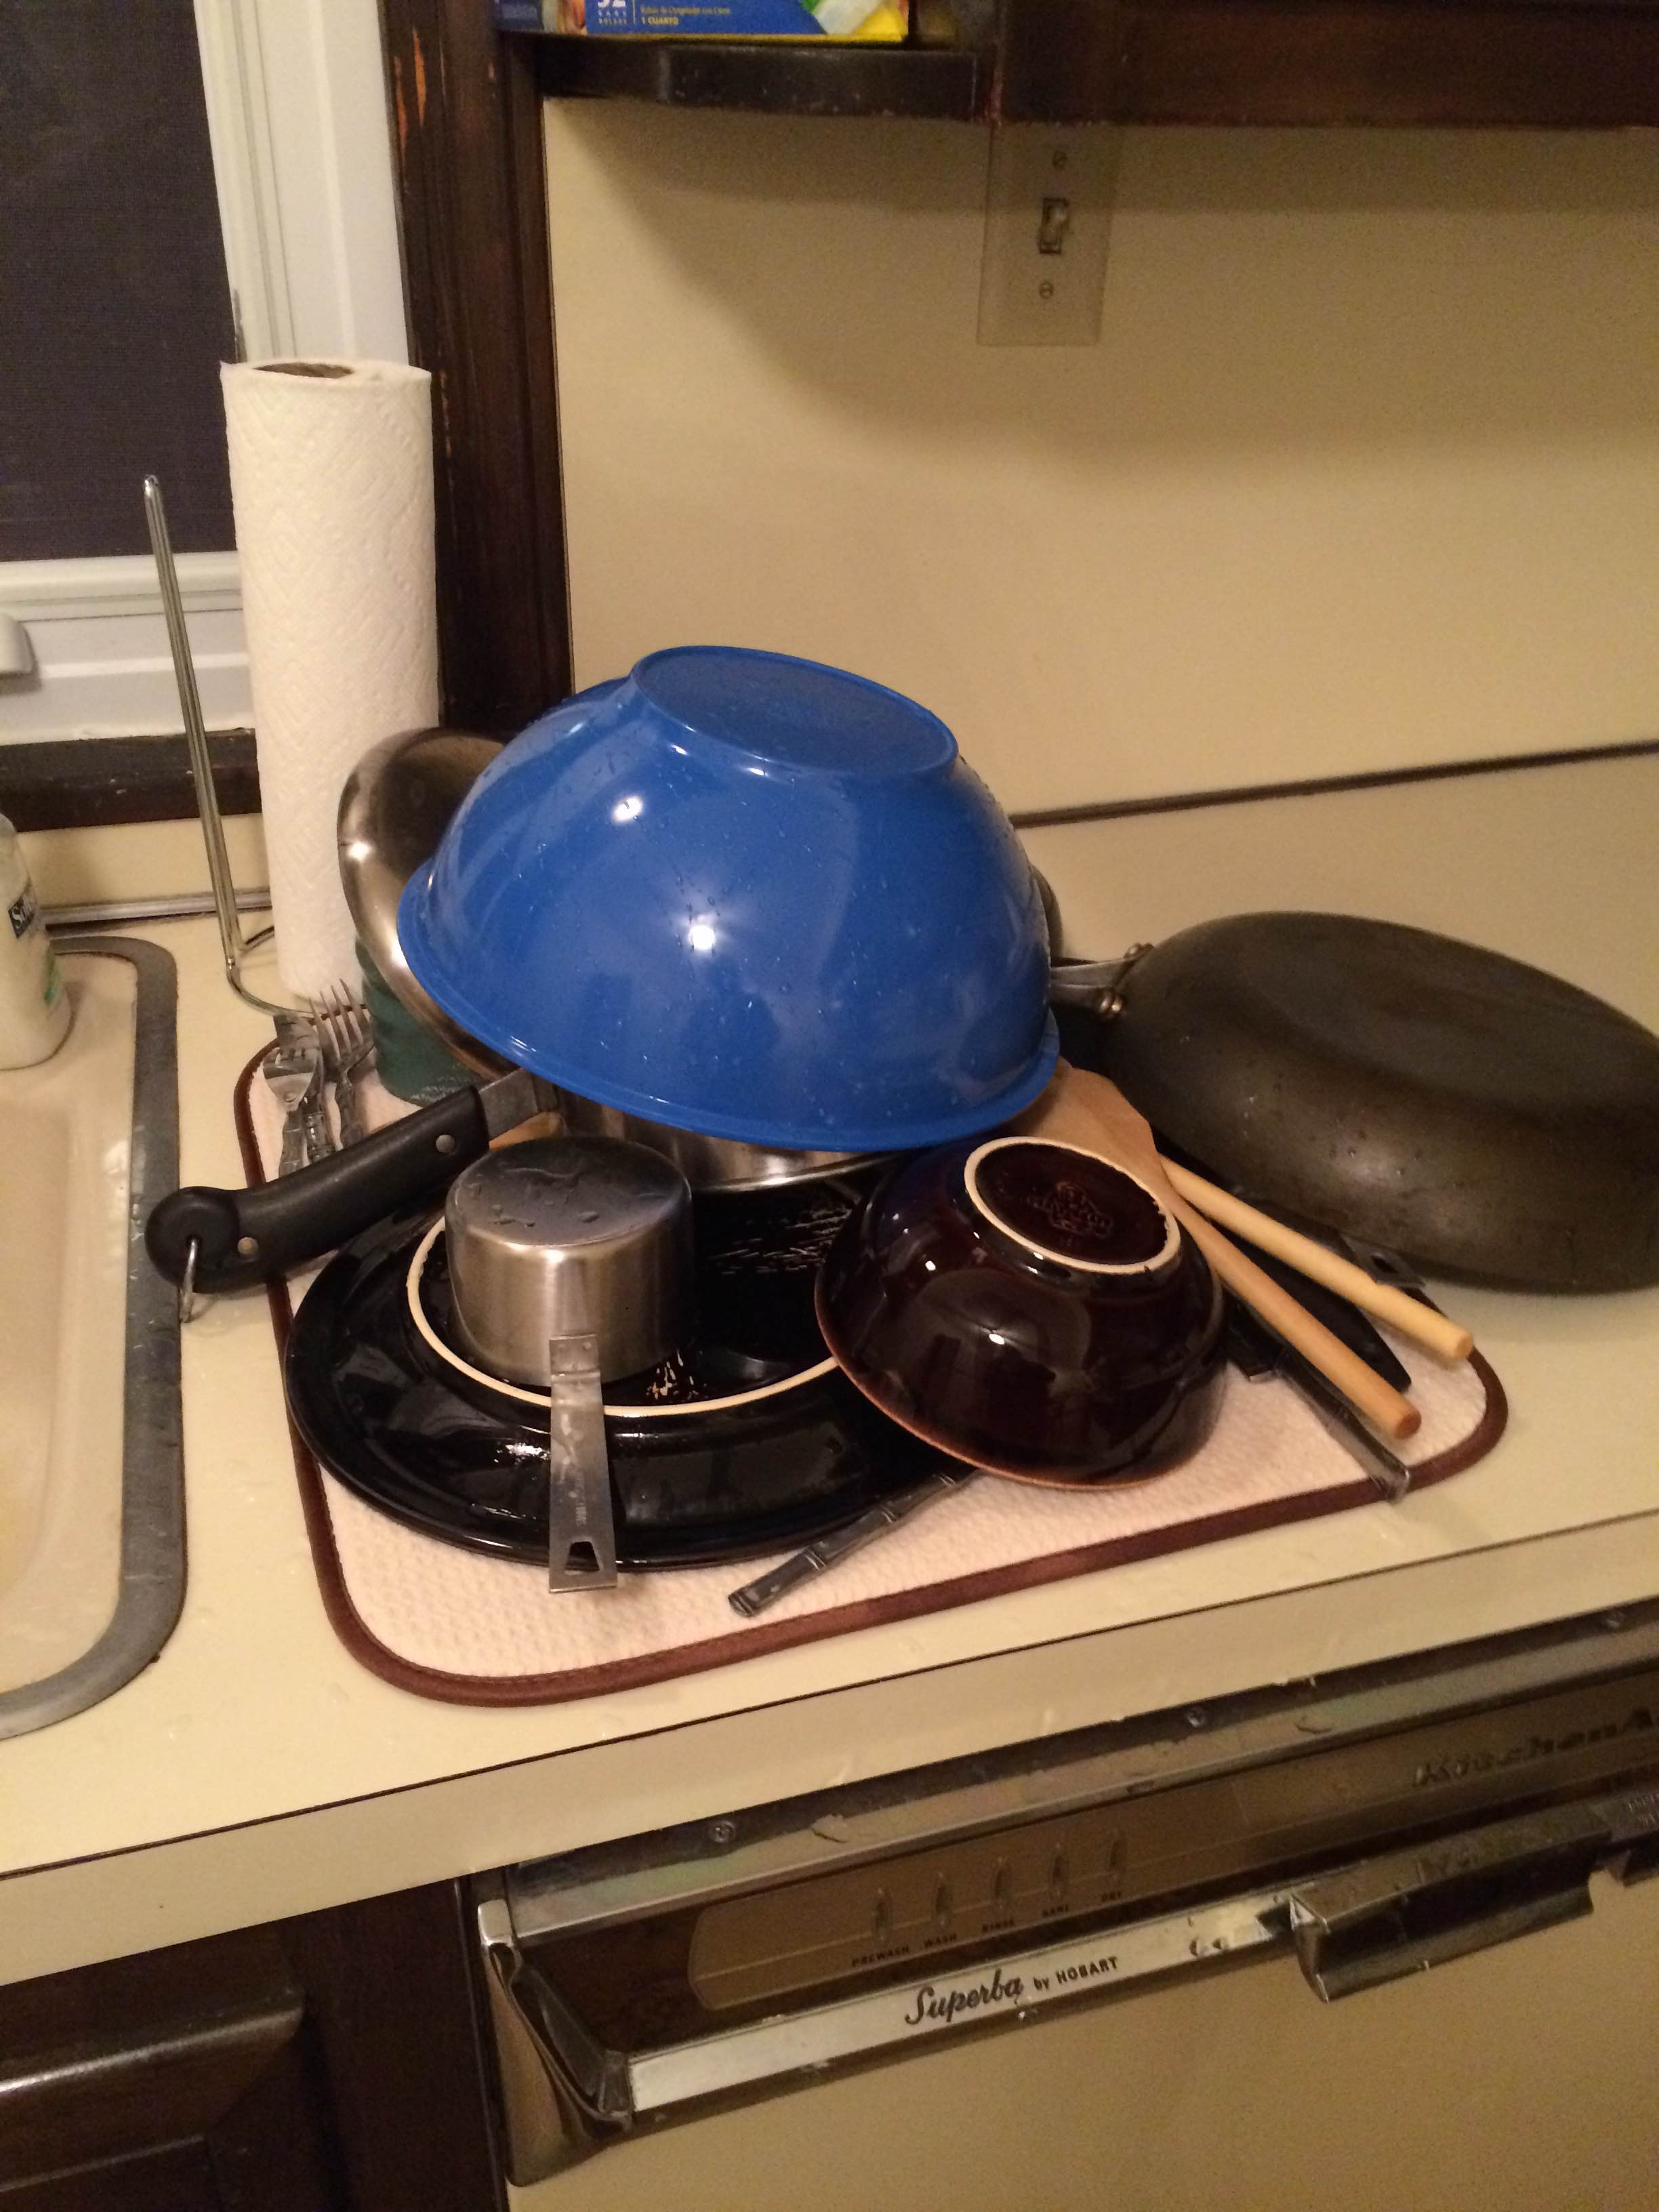
We do not own a drying rack.
Once the kitchen was clean(er) and the dough had firmed up a little, we dropped batter by tablespoonfuls onto a parchment paper-lined baking sheet. Well, okay, we ate some of the batter, and then we dropped some onto the baking sheet.
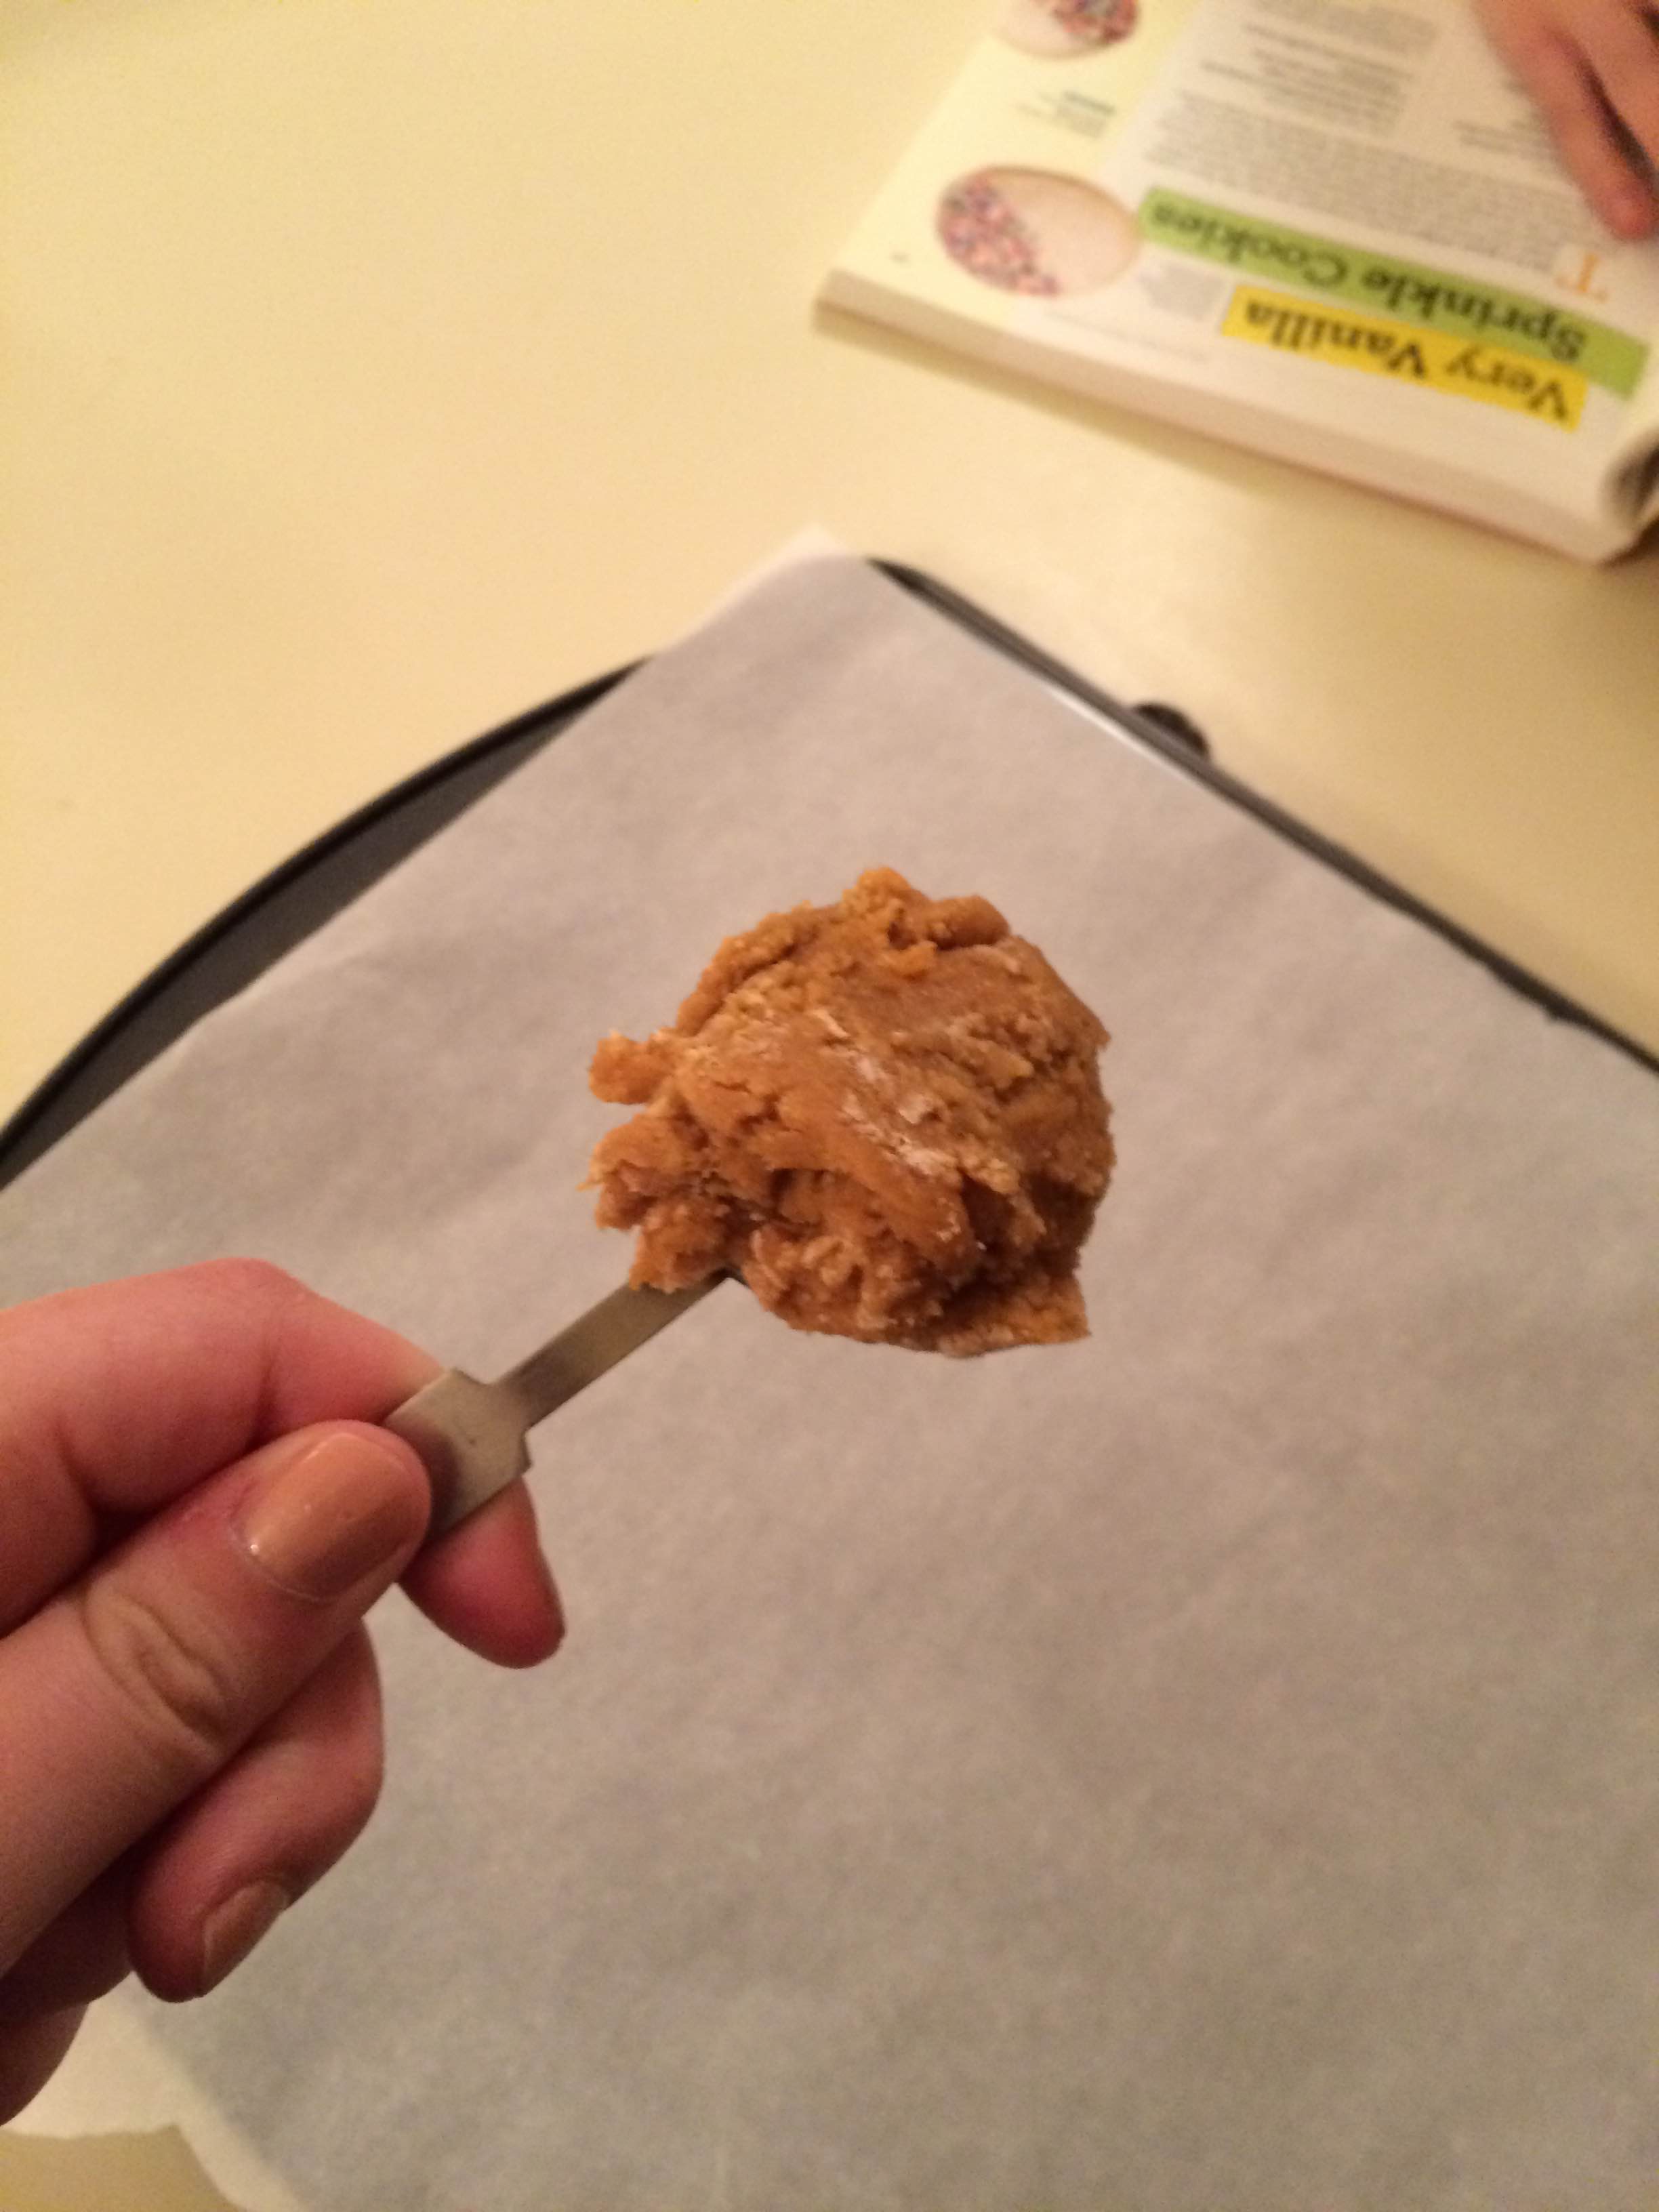
Note: this one ended up a little too big.
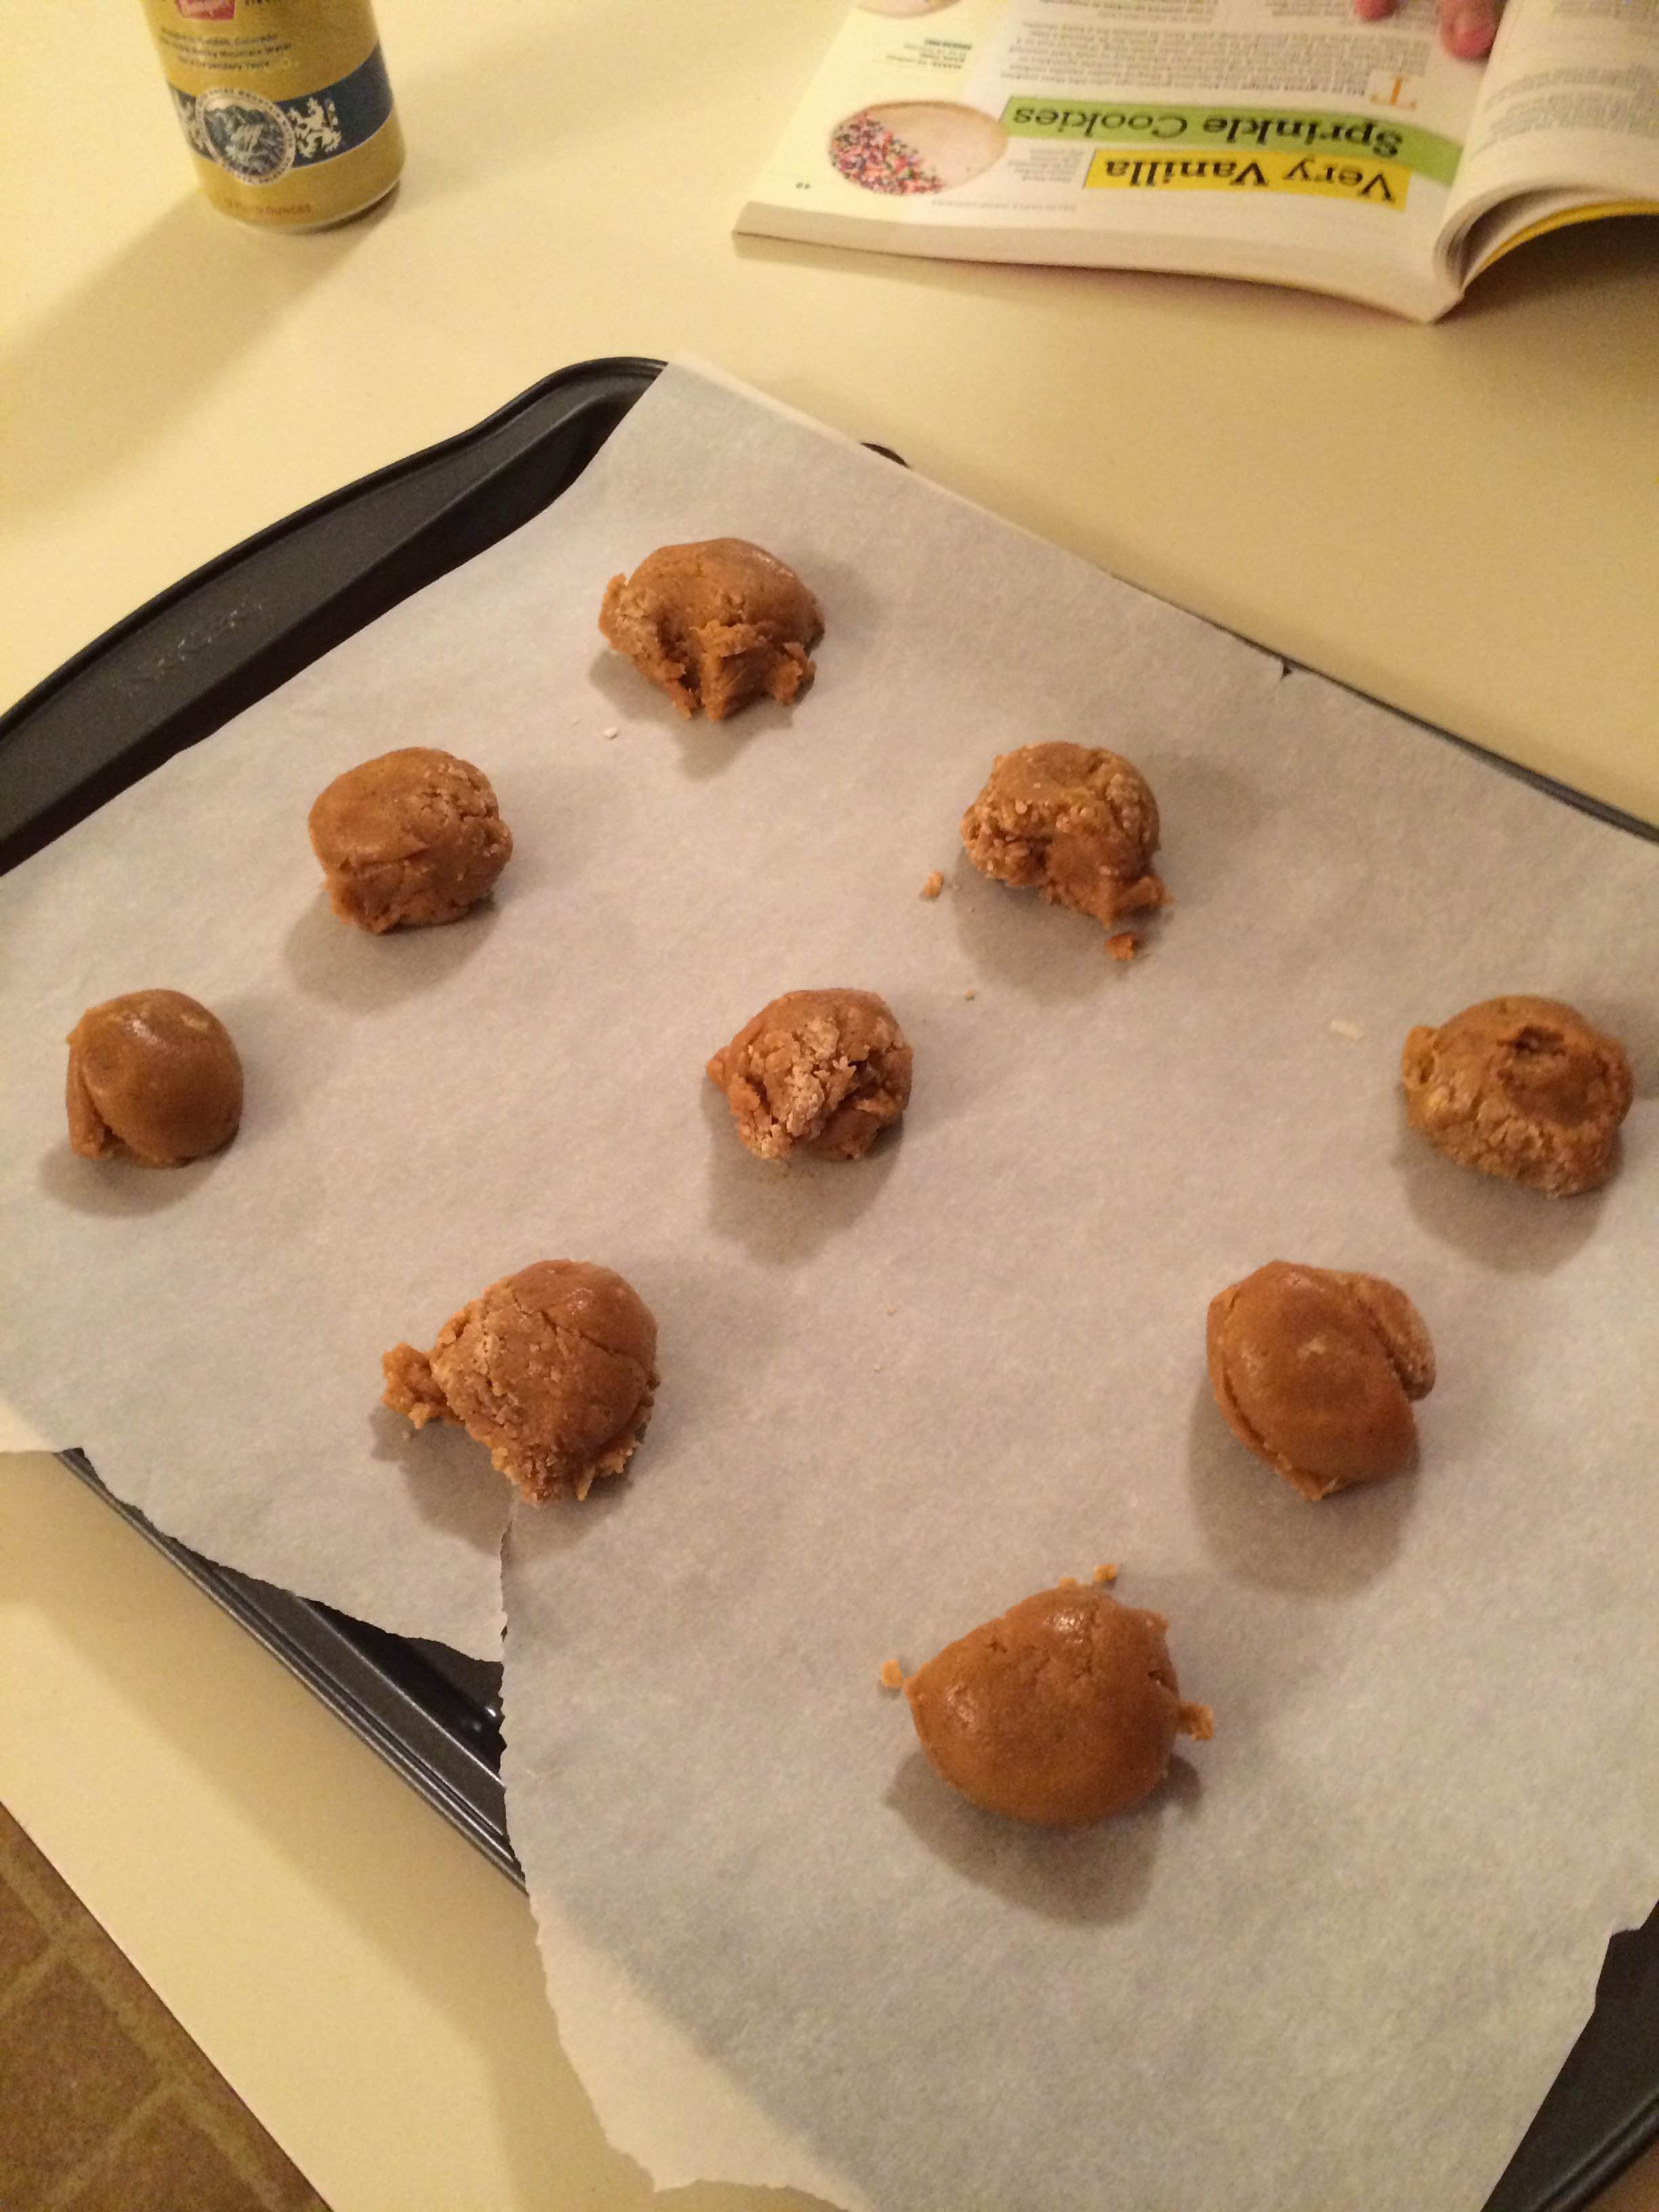
Make sure there’s enough space between the cookies, because they’ll spread a little bit.
Then, pop them in the oven! The recipe says to leave them in for ten minutes, but we ended up putting them back in for a minute or two longer. When they are firm around the edges but still soft in the middle…
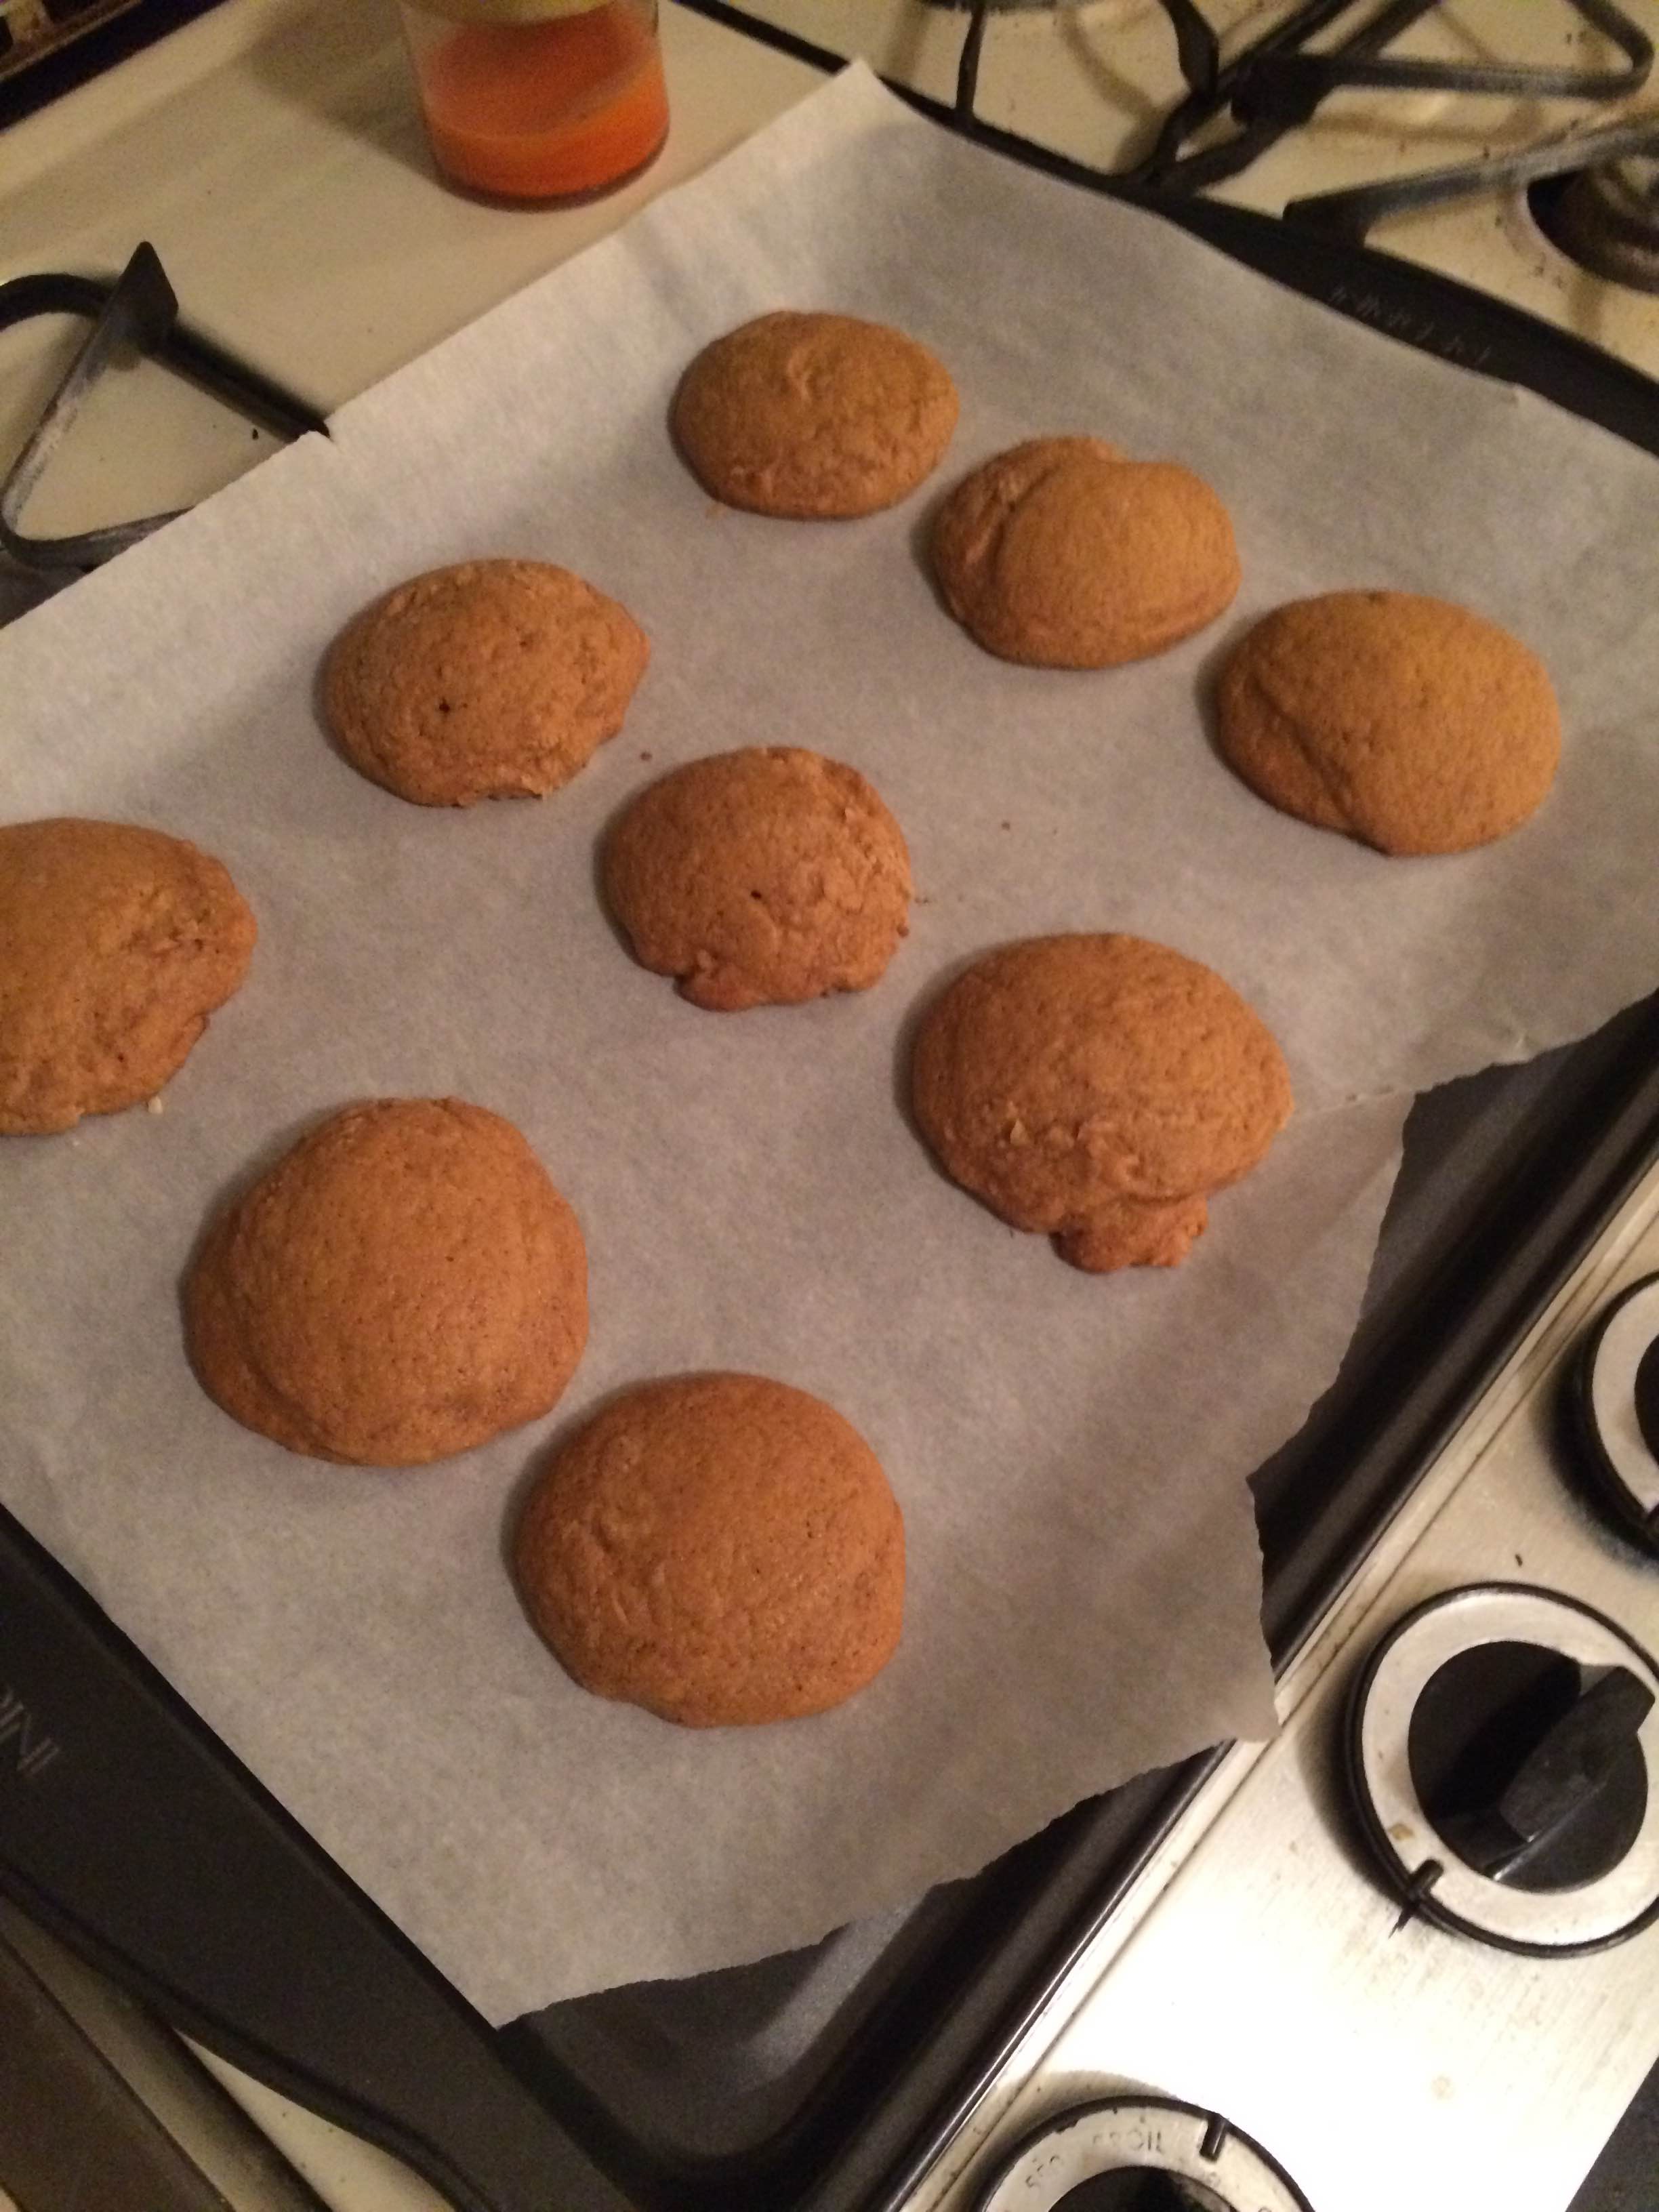
Looks something like this
…take them out and let them rest on the baking sheet for about five minutes.
Another pro-tip: try not to touch the baking sheet when you’re checking how firm the edges of your cookies are. Otherwise, you will be walking around the rest of the night with a paper towel full of melting ice clenched in your fist. Not that I’m speaking from experience…
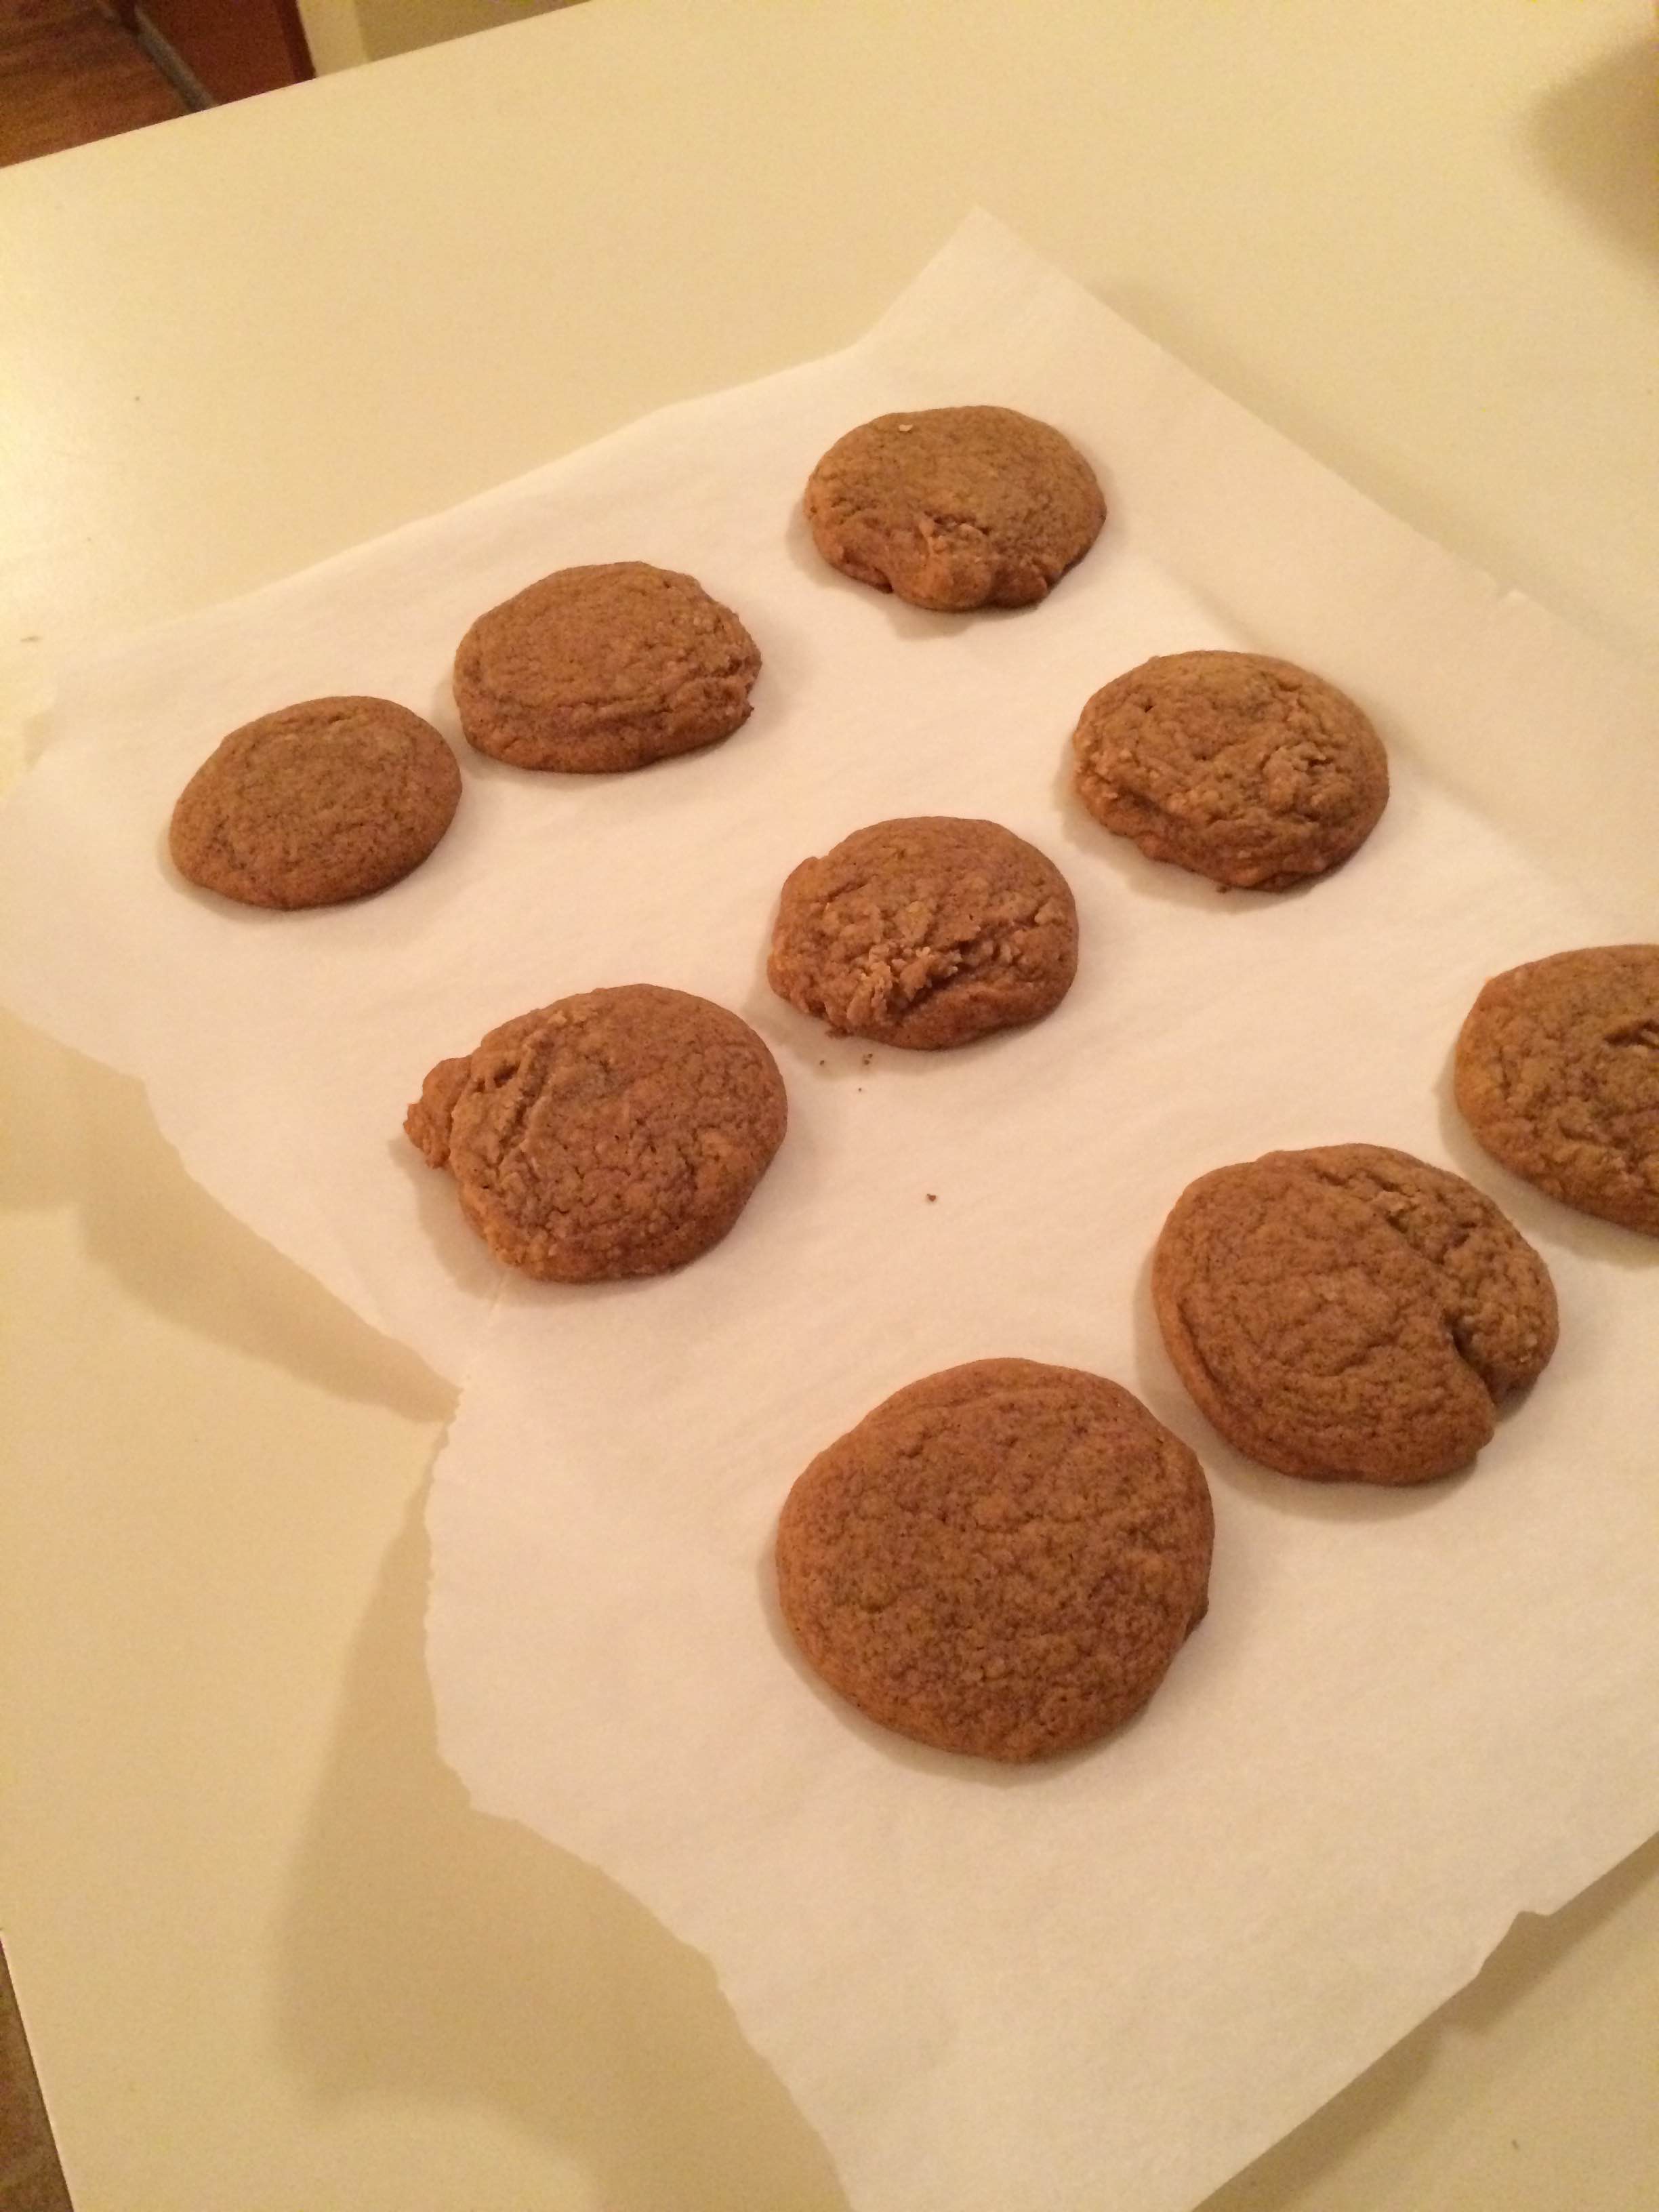
Anyway, after about five minutes, slide the parchment paper and the cookies onto a wire rack to cool.
Or, you know, the counter.
This recipe should yield 36 cookies, but if you’re eating the batter while you’re making them, you’re going to get more like 32 cookies. Just putting that out there. They should keep for a few days in a dry container.
OR, if you have mice, you might wake up the morning after you bake your chewy gingersnaps and notice that the container is open on the counter and that there are bite marks in your cookies, even though you and your roommate only had a chance to eat three of them between the two of you. Sigh.
That’s right. These cookies are so delicious that the mice in my apartment pried the lid off a sealed container just to get a bite or two.
If you’d like to make these cookies for your mice (or yourself, I guess), follow the recipe below. If you’d like to see what other excellent recipes Cookie Swap! has to offer, follow the links at the very bottom of this post to get your very own copy!
Enjoy and let us know what you think in the comments!
(And also maybe store your cookies in the refrigerator to keep them safe from rodents.)
Ingredients
2 cups unbleached all-purpose flour
1 1/2 teaspoons ground ginger
1/2 teaspoon ground cinnamon
1/4 teaspoon ground cloves
1/2 teaspoon of salt
1/2 teaspoon baking soda
3/4 cup (1 1/2 sticks) unsalted butter, melted and cooled
1 cup sugar
1/4 cup dark (not light or blackstrap) molasses
2 large eggs
Recipe
1. Preheat the oven to 350° F. Line several baking sheets with parchment paper. (We only have one baking sheet, so we just baked in batches.)
2. Combine the flour, ginger, cinnamon, cloves, salt, and baking soda in a medium bowl.
3. Place the butter, sugar, and molasses in a large bowl and stir together with a wooden spoon until smooth. Add the eggs and beat with an electric mixer on low until smooth. (Again, a wooden spoon works fine, but takes longer.) Stir in the flour mixture until just incorporated. Place the bowl in the refrigerator, uncovered, to let the dough firm up, about 10 minutes.
4. Drop the batter by tablespoonfuls onto the parchment-lined baking sheets, leaving at least 2 inches between each cookie.*
5. Bake the cookies until they are firm around the edges but still soft on top, about 10 minutes. Let them stand on the baking sheet for 5 minutes, and then slide the parchment with the cookies to a wire rack to cool completely. Chewy gingersnaps will keep in an airtight container at room temperature for 3 to 4 days (if they don’t get eaten by mice first).
*The dough can be frozen at this point. Freeze the scoops on the baking sheet, then transfer to a ziplock plastic freezer bag. Frozen, they can be stored for up to 1 month. To bake the frozen cookie dough, transfer to parchment-lined baking sheets and bake a minute or two longer than directed.
Cookie Swap! is available now from any of the following online retailers:
Amazon | Barnes & Noble | Indiebound | Workman


No Comments