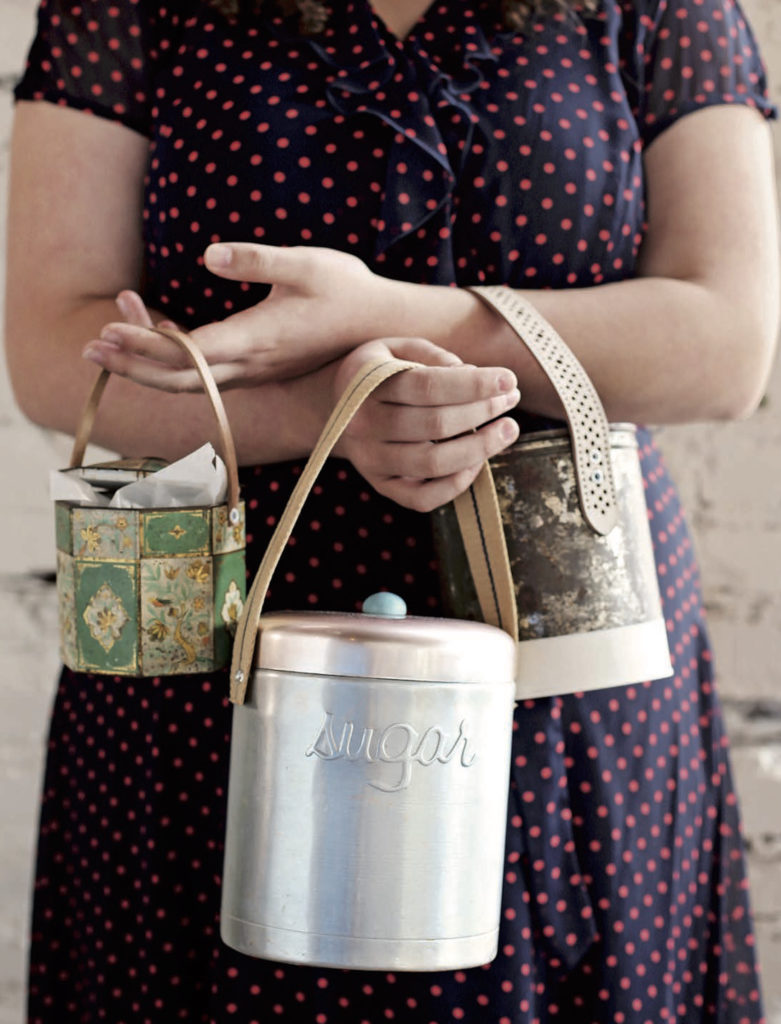
Just because you’re not going back to school doesn’t mean you can’t bring your lunch in style! Repurpose a vintage canister (and maybe even a vintage belt) with this project from Cheryl and Griffith Day’s Back in the Day Bakery: Made With Love. (Artisan Books). Copyright © 2015. Photographs by Angie Mosier.
Buy the Book
Amazon | B&N | Indiebound | Workman
I remember when choosing a lunch box was one of the most exciting things about back-to-school shopping. But who says you can’t still get a thrill from a lunch box? This lunch canister brings the cool back into packing a lunch, and I’ll show you how to give yours a personality all its own by repurposing a vintage canister, and maybe even a vintage belt, to make it. This project calls for a bit of foraging in thrift shops (Etsy and eBay are great online sources), along with a few simple tools.
When it’s time to pack your lunch, I recommend using small storage containers to keep foods separate and fresh. This lunch container is also great for food gifts. Once the goodies are gone, the canister lives on as a multifunctional container to enjoy day after day.

Vintage Lunch Canister
Makes 1 canister.
Materials
- Vintage metal canister (from flour, sugar, tea, etc.) with a lid
- 2 grommet sets
- Leather strap or vintage belt
Tools
- Grommet punch and setter, such as the Crop-a-Dile Eyelet and Punch Kit
- Scissors Pencil
Steps
- Wash and dry the metal canister and the lid. Leave the lid o for now.
- Using a grommet punch, punch two holes side by side on two opposite sides of the container. The thickness of the leather strap or belt will determine the distance between the holes; make sure the holes won’t interfere with the lid.
- The leather strap or belt will be the handle of your lunch box. Decide how long you want to make it and cut the strap or belt to size.
- Hold the leather over the two sets of holes and mark the leather accordingly with a pencil, then punch holes into the leather.
- Using the grommets and setting tool, check to make sure the handle is secure. Put the lid on, and your lunch pail is ready for use. Attach the leather strap to the canister.


No Comments