When I learned that you could customize your nails with washi tape, it opened up a whole new world for me! It’s easy to mix and match colors, the drying time is shorter than a traditional manicure, it’ll never chip, and with my large collection of washi rolls, I could have a different manicure and pedicure every day for the next 10 years. Okay, maybe not that long, but I can definitely match my nails to my outfits with fun patterns. And even better, when you want to change up your look, you can just peel the washi tape off in one piece!
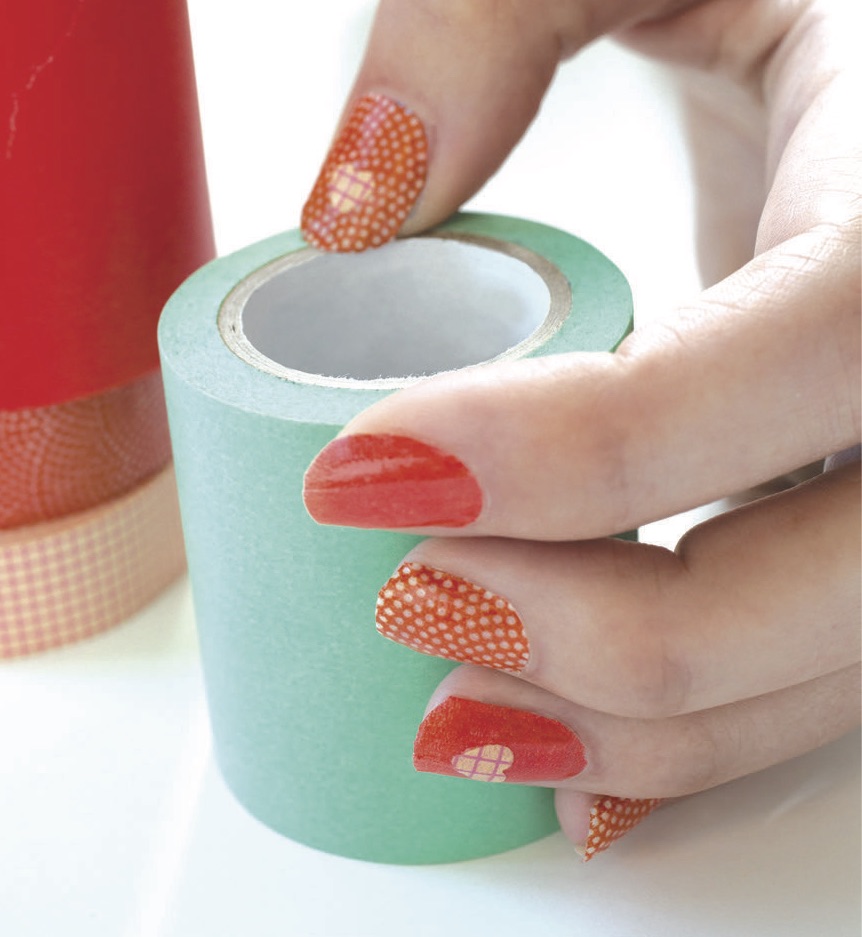
Washi Tape Nails
Print RecipeIngredients
- Clear nail polish base coat
- Washi tape
- Pencil
- Mini scissors or craft knife and self-healing cutting mat
- Wax paper
- Clear nail polish top coat
- Mini punch, for making 1∕4" dots or other shapes (optional)
Instructions
Make sure your nails are clean and dry, then paint them with a base coat and let them dry completely.
Tear off a piece of washi tape and press it over your nail. With a pencil, trace along the edge of your nail to make an impression on the tape.
Peel the washi tape piece off your nail and carefully cut out the traced shape using scissors or the craft knife.
Press the tape back onto your fingernail, smooth it down, and add
a top coat over the tape. Let it dry. Optional: Press a length of washi tape in a complementary color or pattern onto wax paper and punch out shapes. Then peel the washi-taped shape off the wax paper and press it onto the nail design before adding a top coat.
Repeat Steps 2 through 4 on each of your fingernails.
Add a second top coat over each fingernail design and let it dry completely.
Excerpted from Amy Anderson’s Washi Tape Nails.


No Comments