This post was written by editorial intern Perry, who was enchanted by the combination of cheese and fruit in this pie.
Today, dear readers, I bring you a winter pie to warm your bellies during the cold days ahead. This recipe appears in Teeny’s Tour of Pie, my new favorite cookbook. Teeny Lamothe wanted to be a lady pie baker and so set out on a year-long tour across the country, “hopping from pie shop to pie shop, spending a month or so at each bakery, and soaking up as much experience and advice as possible”. The result was a wonderful cookbook centered around seasonal baking. I looked through the chapter on winter pies and settled on a lovely Pear and Goat Cheese Tart.
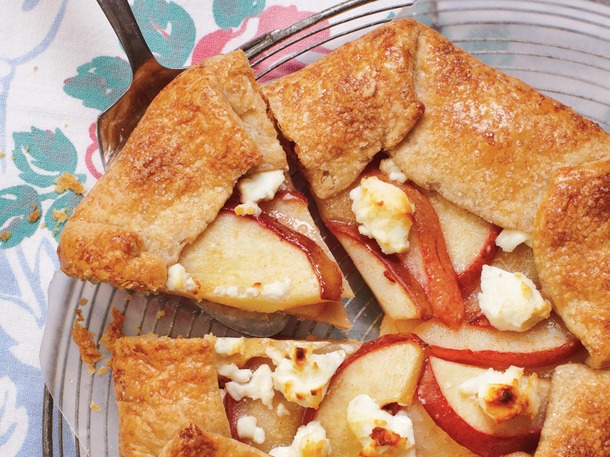
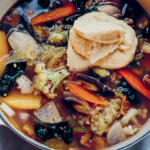
Pear and Goat Cheese Tart alla Teeny © Sara Remington
I apologize in advance for the poor quality of the up-coming pictures – I was baking this at 2 am and I still have not replaced the burnt out light bulbs in my kitchen!
First, I made the crust. Now the original recipe calls for Teeny’s Whole Wheat Crust but I prefer a regular butter crust, so I gave Teeny’s All-Purpose Crust a try. I mixed my dry ingredients together, and then cut in the butter and shortening. Then I added in my liquid ingredients and worked the dough until it came together into a big ball.
There are two very important things to note here. Firstly, if you want a flaky crust, you need to keep your butter cold. When a pie goes in the oven, the cold bits of butter in the dough melt, forming tiny air pockets full of steam. These air pockets are what create a flaky texture. If your butter is already warm when it hits the oven, it will not leave a big enough air pocket and you will have a lame, non-flaky crust. None of us wants that. So if you chop your butter and don’t mix it in right away, stick it in the freezer. When you add your liquid ingredients, make sure that you are using cold water. It’s a simple rule, but it makes all the difference.
Secondly, this is a vodka crust recipe – some of you may have experienced the benefits of such a crust, but I had not, so I did a little reading. Vodka has very little water in it as it is mostly alcohol – by replacing some of the water in a pie crust recipe with vodka, you are able to use the same amount of liquid while technically using less water. This is important because when the proteins in flour interact with water, they create gluten. If the gluten in pie dough is worked too much from excessive kneading or rolling, the dough becomes tough. Using vodka in the dough means less water overall, which means less gluten, which means you don’t have to be as careful with how much you are handling the dough. And don’t worry about how the vodka will affect the taste of the pie – all the alcohol will burn off in the oven, so no one will even know you used it.
Science – it’s a magical thing. Anyway, back to the recipe!
Since it was super late at night, I completely forgot to take pictures of the crust-making process, but I ended up with this disk of perfect, lovely pie dough.
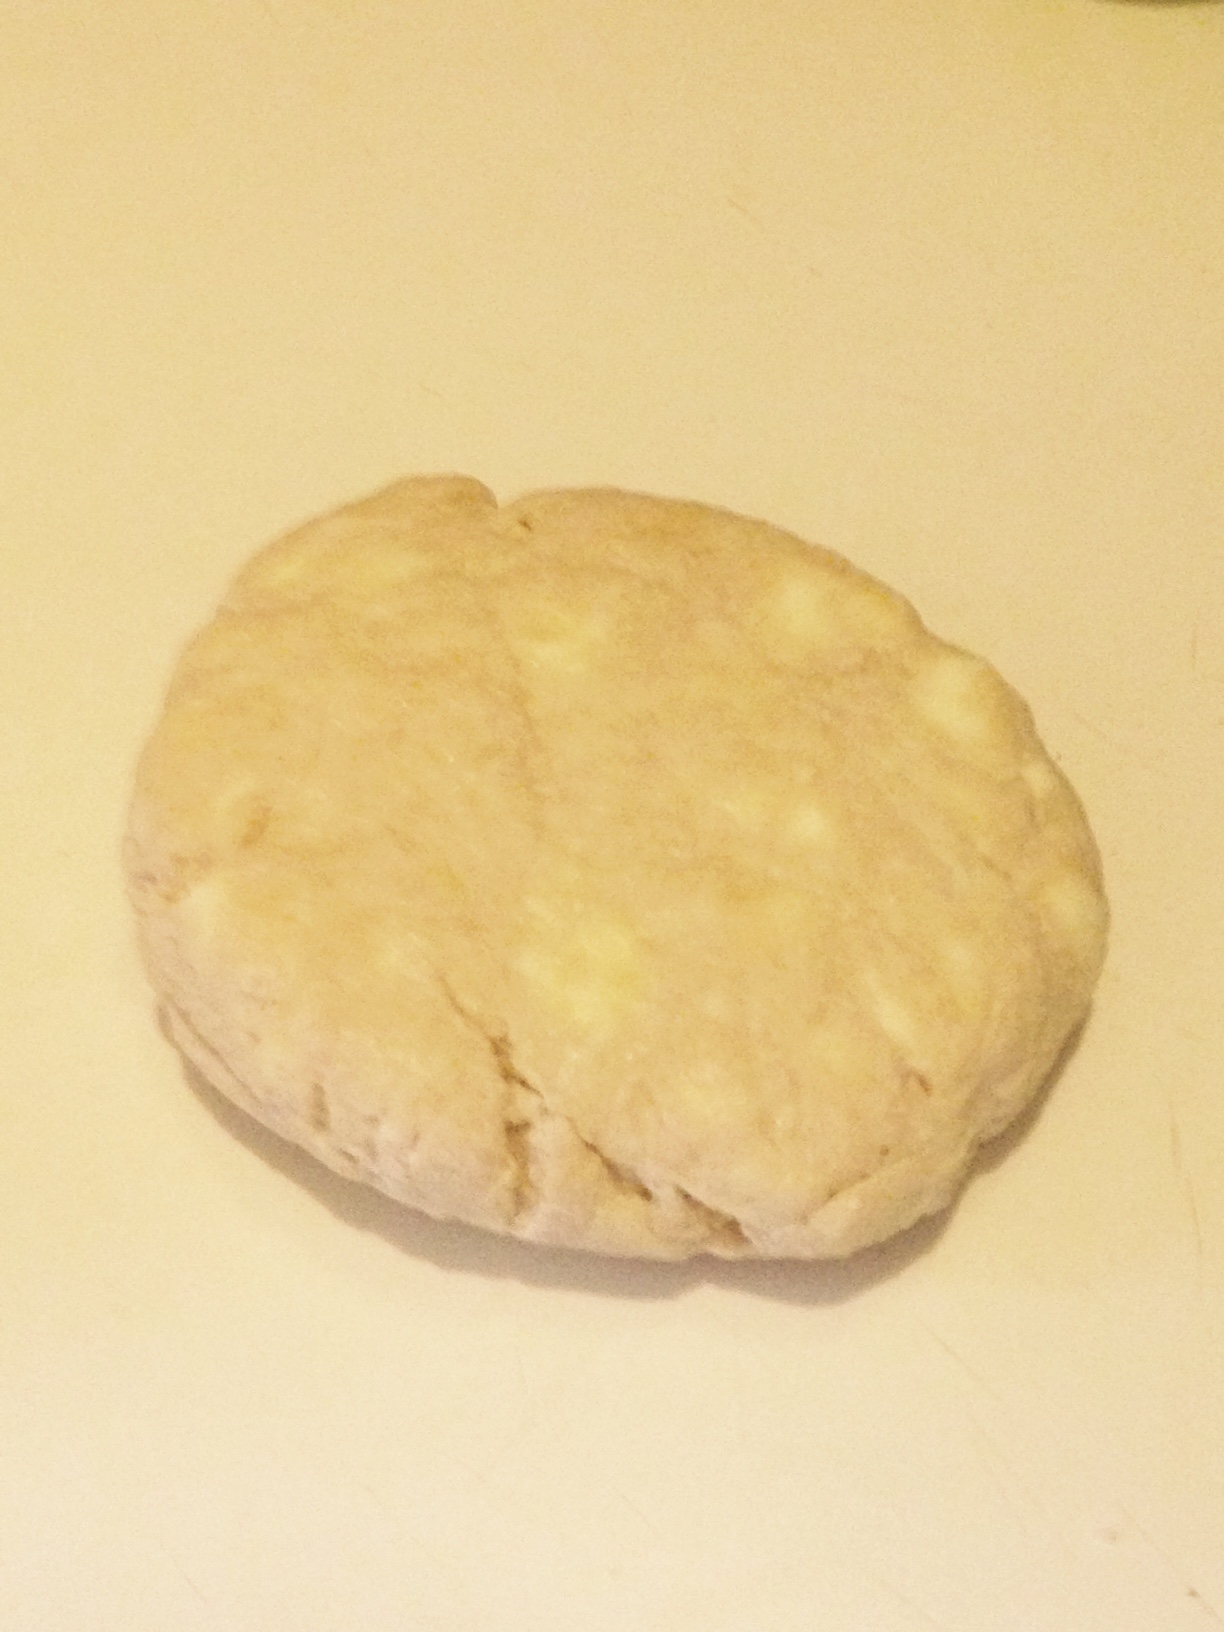 I wrapped it up in plastic wrap and let it rest in the fridge for an hour.
While the dough was resting, I prepared the pear filling.
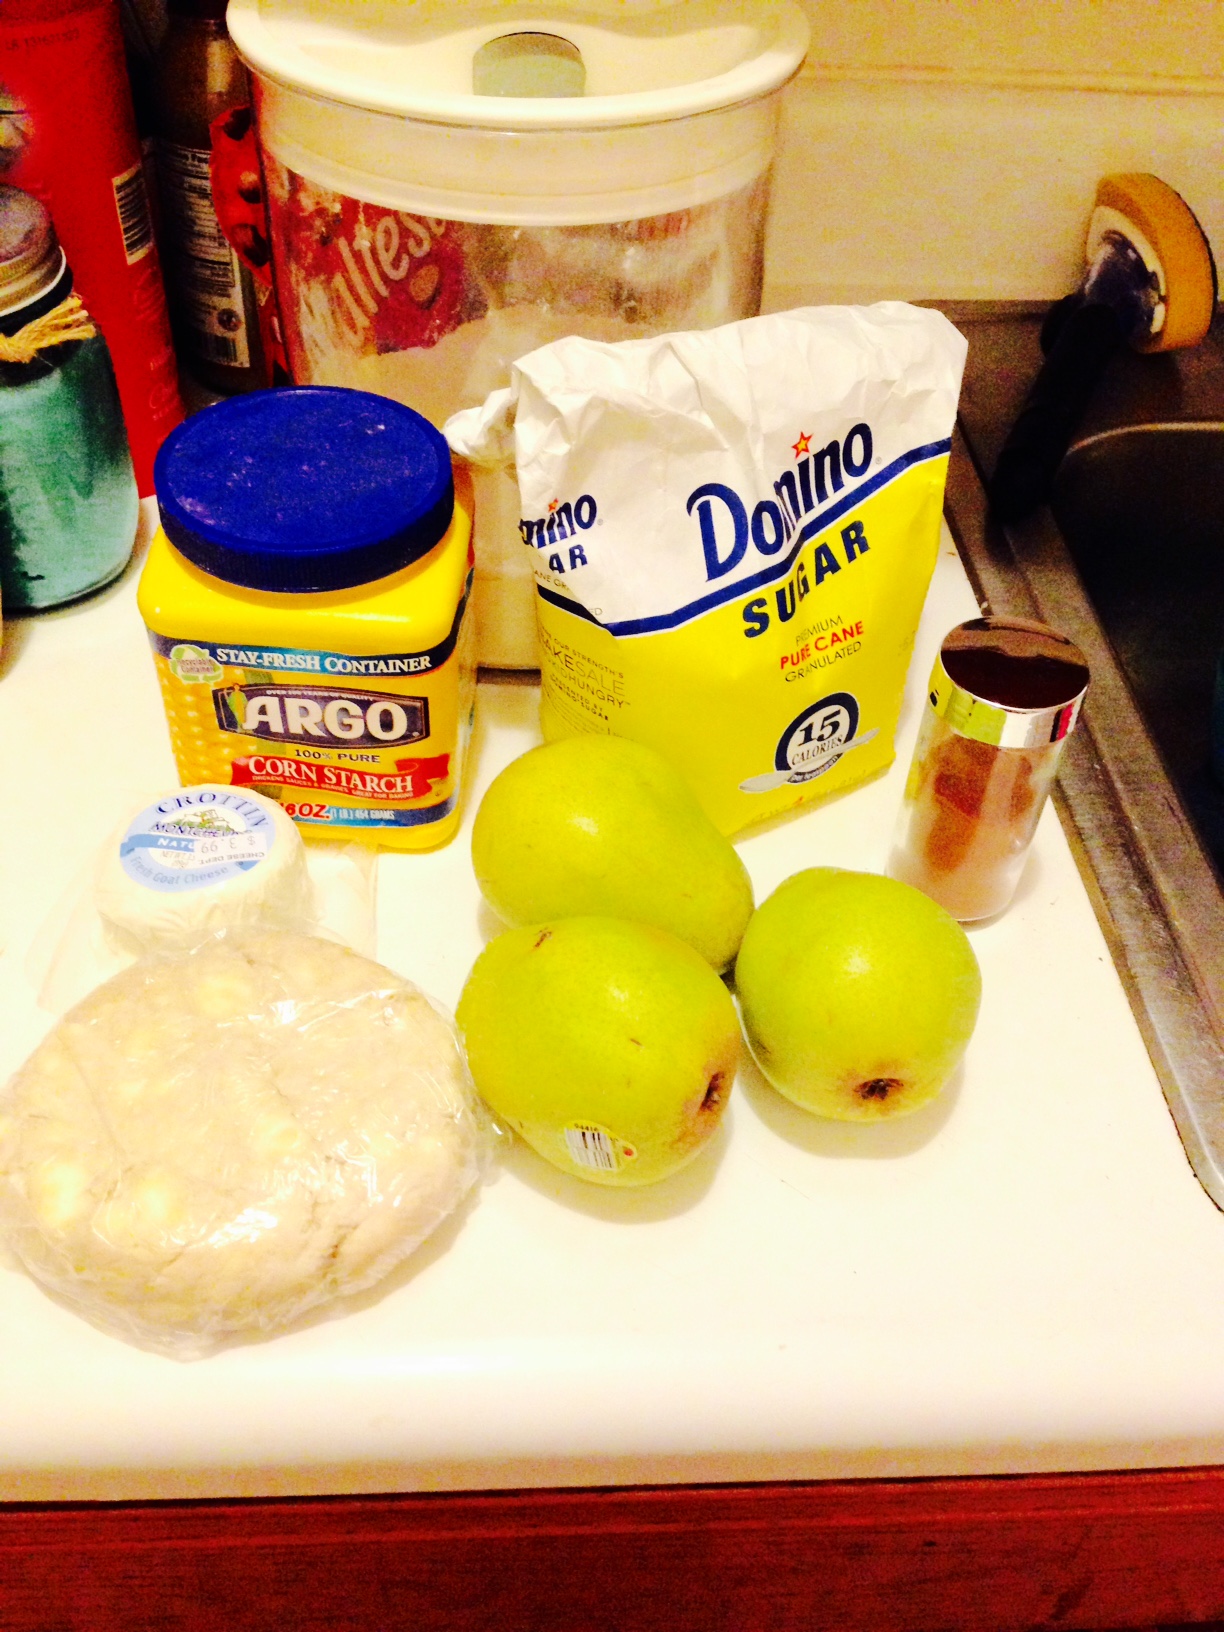 I mixed my dry ingredients together in a small bowl and set it aside. Then I sliced up my pears – I would suggest you try and find red Bartlett pears, as they would have been much prettier, but all I could find were green ones.
I tossed the pears in the sugar mixture and then took out the chilled dough and rolled it out into a circle. My rolling pin broke recently, so I ended up using a big bottle of rum instead:
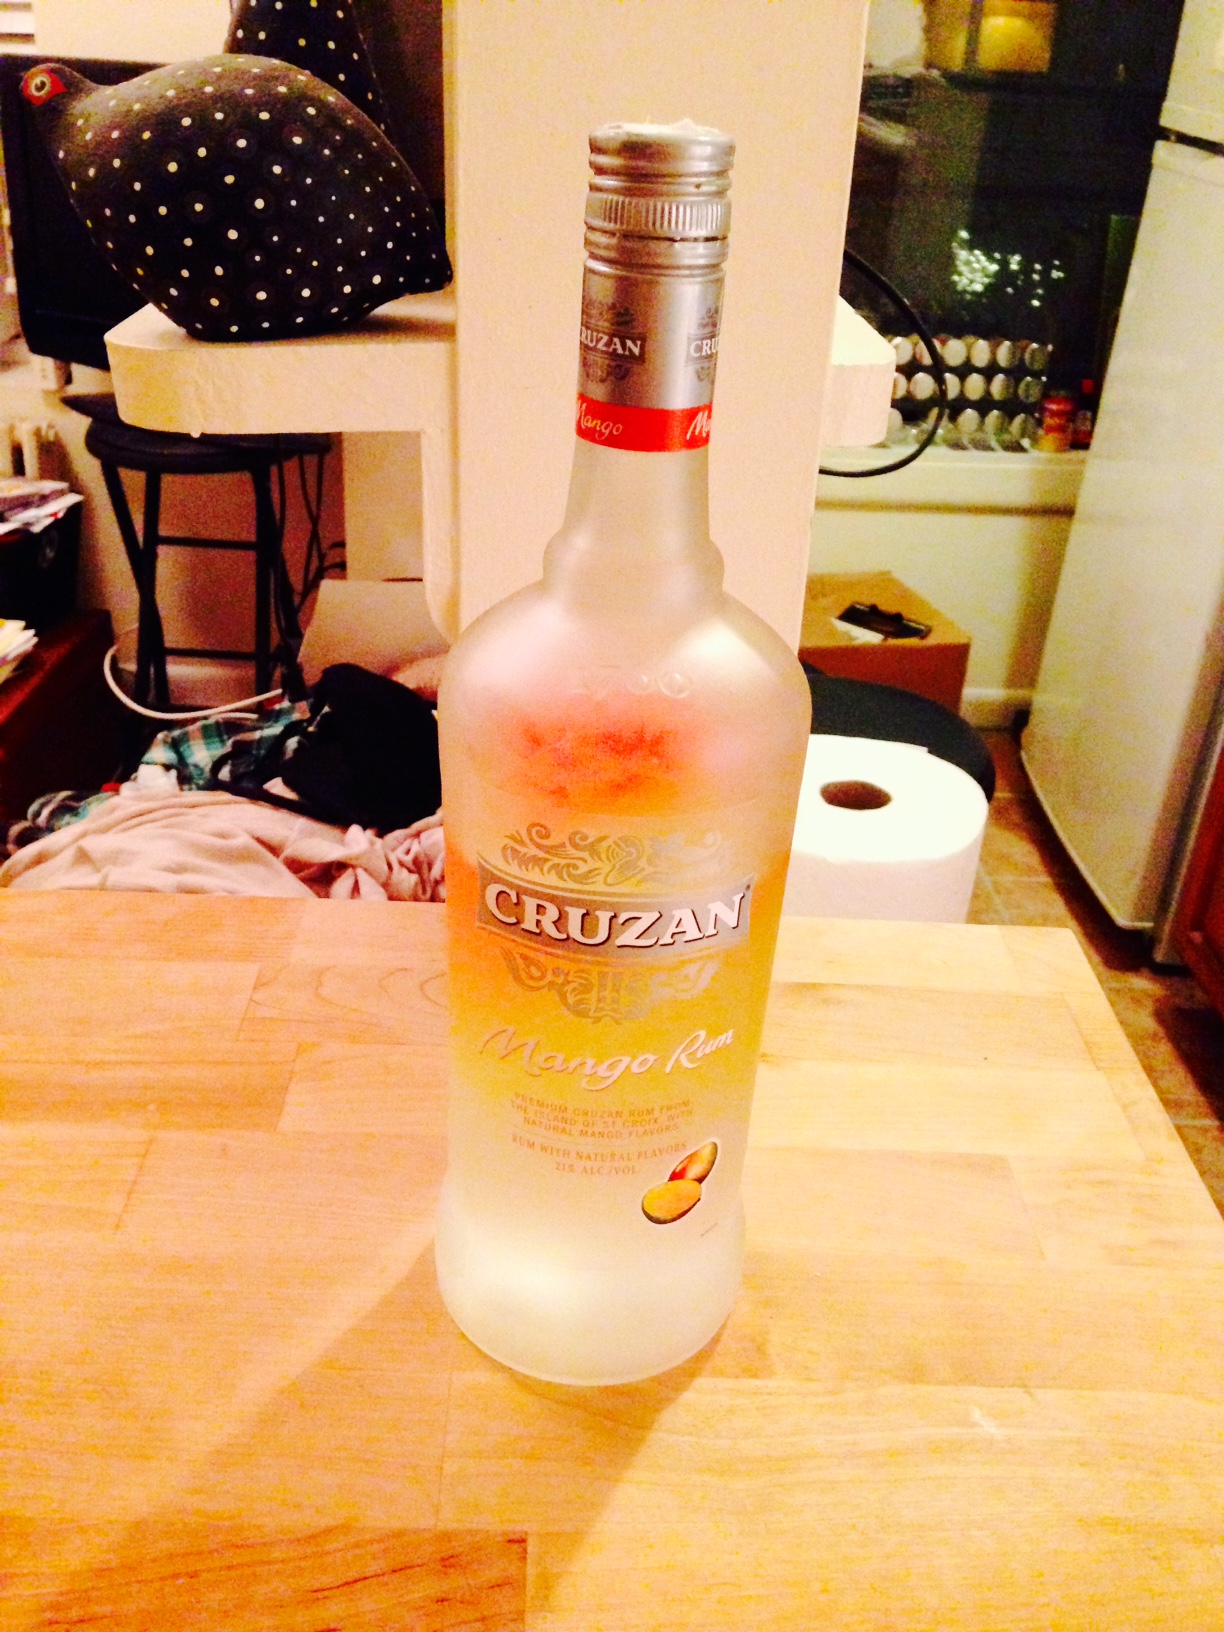
Pro Tip: A partially filled bottle of wine or rum can be used as a rolling pin in times of emergency!
Once the dough was rolled out, I arranged the pear filling in the center of the pie dough, leaving a 1 inch boarder around the outside, and dotted it generously with bits of goat cheese. Then I folded up the edges into rustic french pleats and threw the tart in the oven!
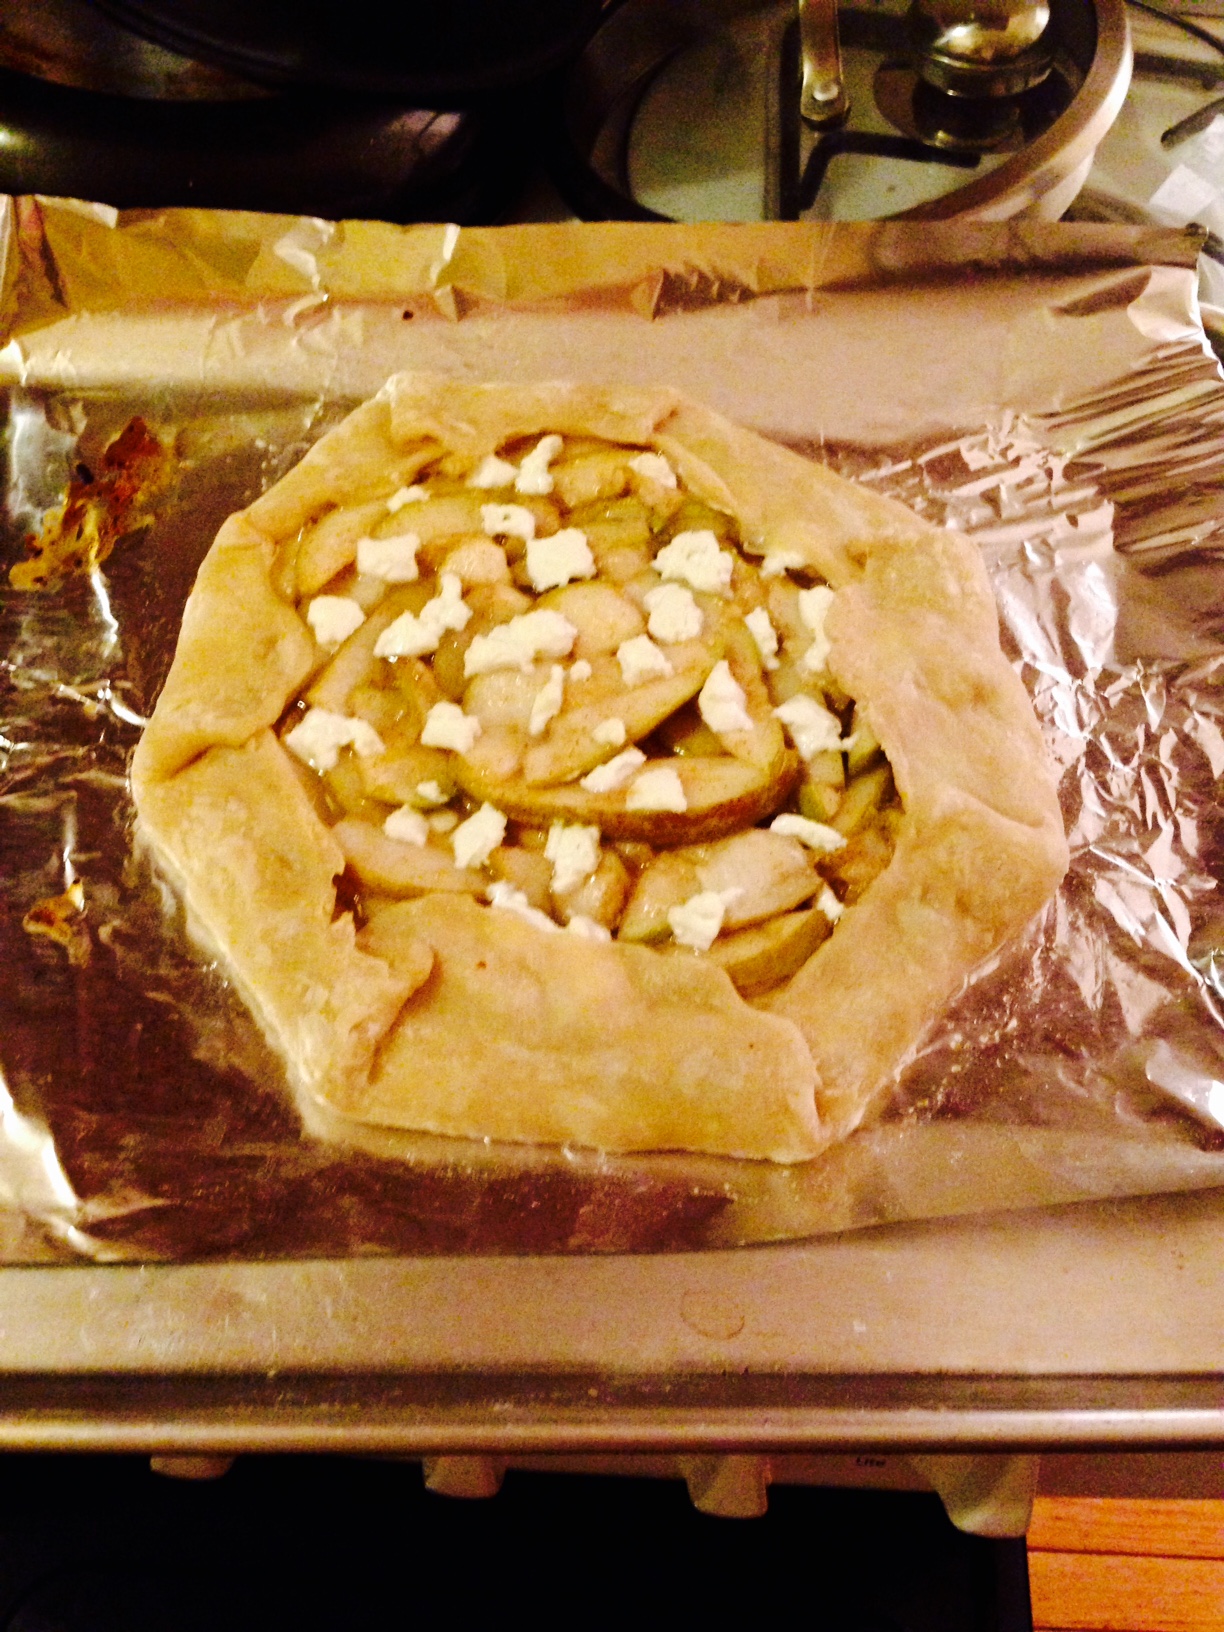
The tart before baking…
40 minutes later, I had a yummy 3am snack. The pears were subtly sweet and paired really well with the tangy sharpness of the goat cheese. And the crust was flaky and buttery and very rustic looking.
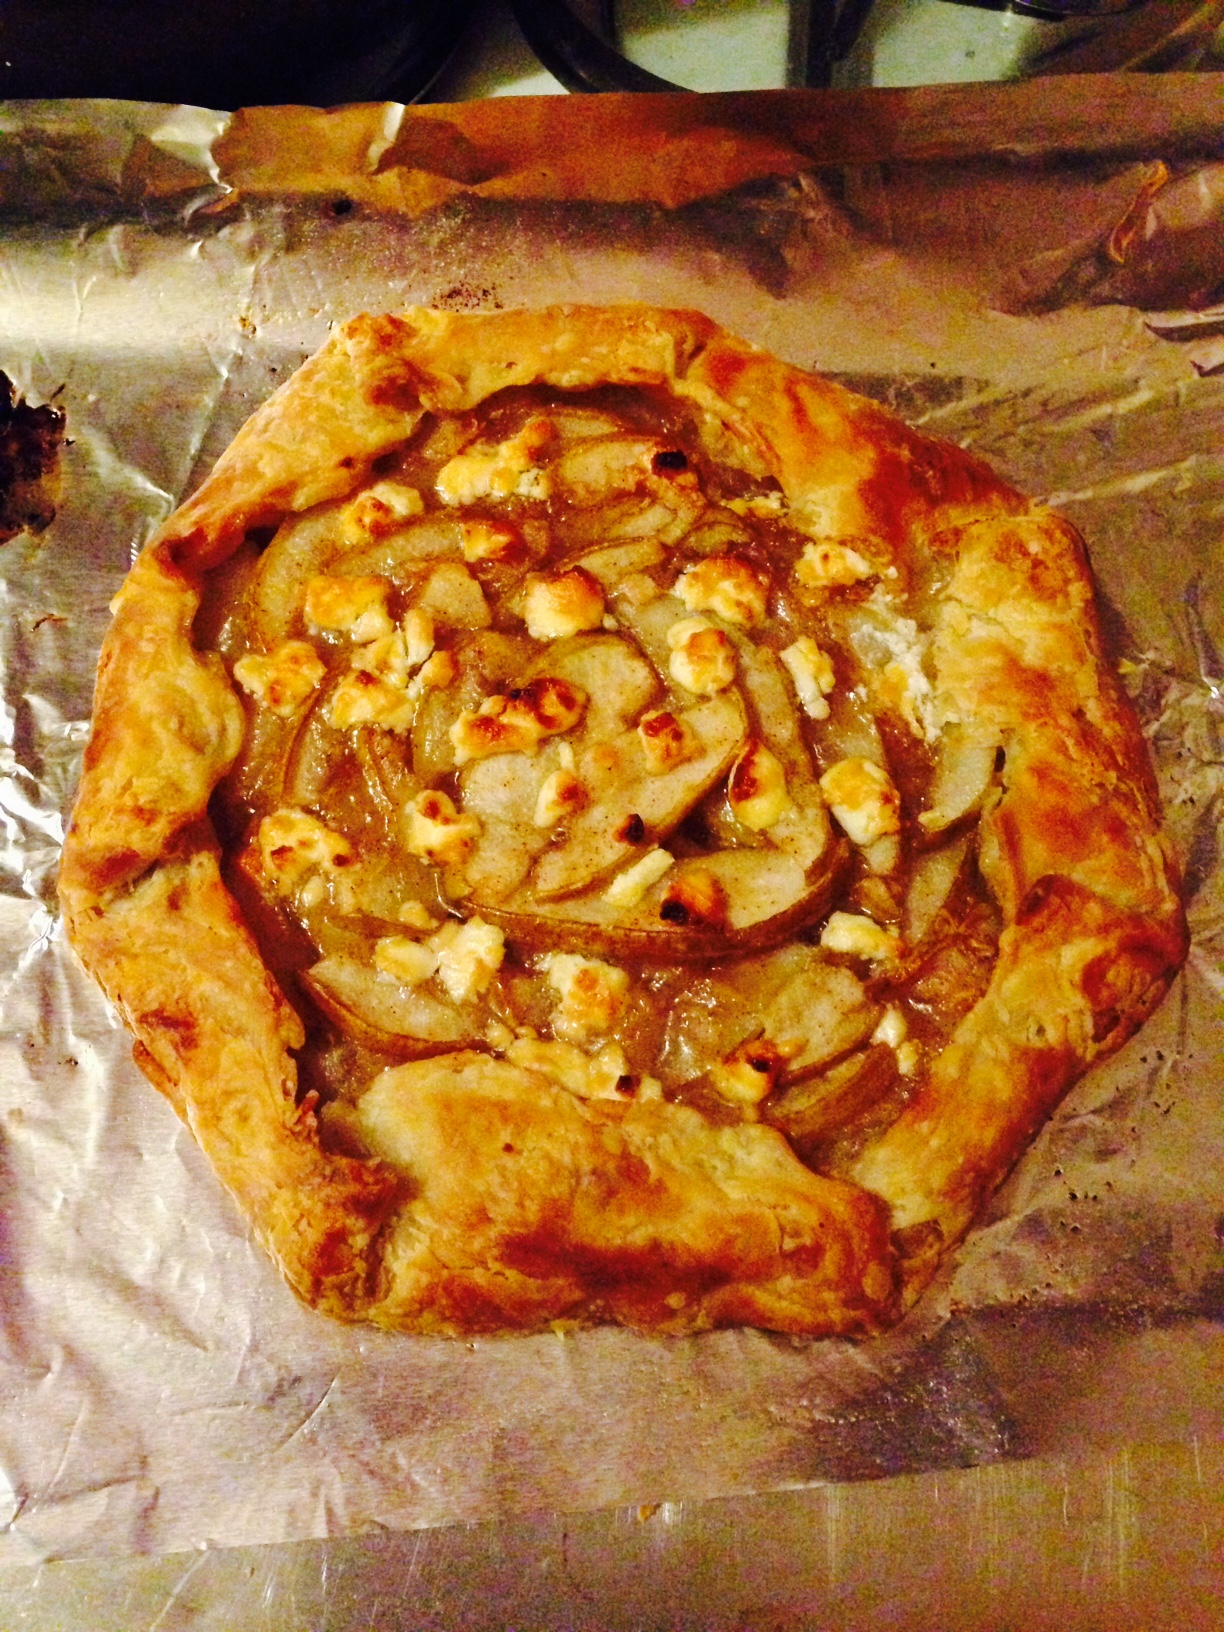
…. and after baking:)
Over all, I really liked this tart! It was very simple to make and used an flavor combination that I ended up really liking! Pears are a very underrated fruit and I’m glad I finally have a way to showcase them.
If you would like to try more recipes like this, you can check out Teeny’s Tour of Pie, just in time for the holidays!
Buttery All-Purpose Crust
Prep Time: 15 minutes
Chill Time: 1 hour
Total time: 1 hour 15 minutes
Makes: One 9-inch double crust or four 5-inch double crusts
Ingredients
2.5 cups all-purpose flour
2 teaspoons salt
2 tablespoons granulated sugar
3/4 cup (1.5 sticks) cold unsalted butter, cut into 1-inch pieces
1/4 cup (4 tablespoons) cold vegetable shortening
1/4 cup (4 tablespoons) cold vodka
6 tablespoons cold water, plus extra as needed
1. In a large bowl mix together the flour, salt, and sugar until everything is thoroughly combined. Add the butter and shortening and cut the mixture together using a pastry cutter until it forms small pea-size crumbs coated in flour.
2. Pour the vodka over the dry ingredients a few tablespoons at a time while using a rubber spatula to press the dough together. Similarly, add the water, and continue to press the dough together to form a large ball. The dough should be fairly wet and sticky; if for some reason it seems particularly dry, add a little extra ice water a tablespoon at a time until everything comes together easily. (Be careful to work the dough as little as possible, otherwise the crust may be tough.)
3. Divide the dough into two equal balls, press each into a 1-inch disk, wrap each in plastic, and refrigerate for at least 1 hour or up to 2 days before rolling out.
Pear and Goat Cheese Tart
Prep Time: 20 Minutes
Bake Time: 20 to 40 Minutes
Total Time: 1 hour
Makes: 2 tarts (serves 4 to 6 each)
Ingredients
1/4 cup granulated sugar
1/2 teaspoon ground cinnamon
2 tablespoons cornstarch
2 to 3 pears, preferably Bartlett, peeled, cored, and roughly chopped (equal to 2 cups; see Note)
2 ounces fresh goat cheese
1 disk dough from the All-Purpose Crust
Up to 3 tablespoons all-purpose flour, for rolling out the crust
1. Preheat the oven to 400°F with a rack in the middle position. Line a large baking sheet with aluminum foil.
2. Stir together the sugar, cinnamon, and cornstarch in a small bowl until combined.
3. Place the pears in a large bowl and pour the sugar mixture over them. With your hands or a large spoon, gently toss the fruit to coat evenly. Set aside.
4. Roll out the crusts: divide the dough into two equal pieces and form each into a 1-9nch thick disk. On a lightly floured surface with a lightly floured rolling pin, roll one piece of dough into a rough 12-inch circle about 1/8 inch thick. Transfer the dough circle to the baking sheet. Repeat with the remaining dough disk, placing it next to the first dough circle on the baking sheet.
5. Give the pear mixture one final stir and arrange 1 cup of pears in the center of the first dough circle, leaving a 1-inch edge all around (if your pears are very juicy, you may wish to strain off half of the liquid first). Crumble half of the goat cheese evenly over the fruit filling.
6. Starting on one side, fold the edge of the crust up and over the edge of the filling. Make your way around the circle, folding up the extra crust and pleating it as you go. The crust should not meet in the center; the edges just have to be tucked up toward it. The look you’re going for by the end is a very rustic tart.
7. Repeat the filling, topping, and folding with the remaining pears, goat cheese, and dough circle.
8. Bake until the crusts are golden brown and the cheese has browned on top, 30 to 40 minutes. Serve warm.
Note: If you prefer your pears skin-on, you can skip the peeling and cut them into roughly 1/4-inch slices.
*This tart will keep for up to 3 days, covered, in the refrigerator.
Amazon | Barnes & Noble | IndieBound | Powell’s


No Comments