Excerpted from Liz Gutman and Jen King’s The Liddabit Sweets Candy Cookbook.
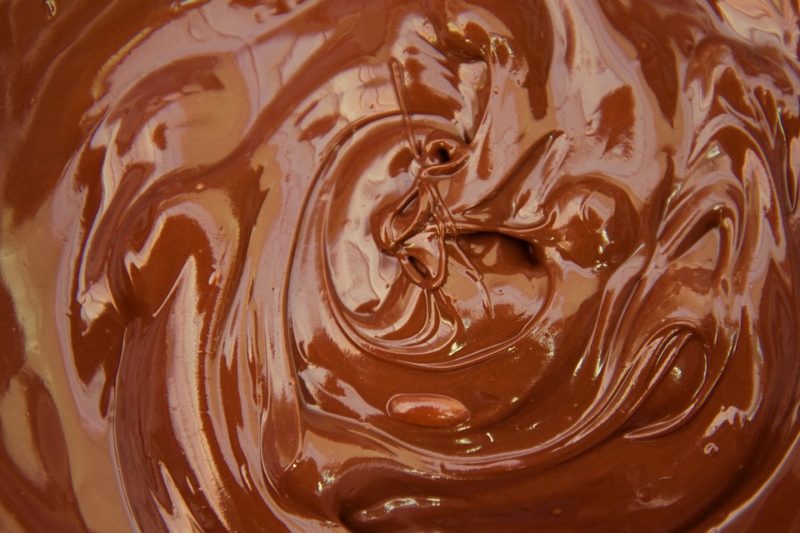
Tempering chocolate need not be complicated, or intimidating, or even particularly messy (though it might be the first few times you do it). There are several ways to accomplish your lofty goal of beautiful, shiny chocolate, but we’ll stick with the simplest one, which is referred to as “seeding.”
Before you jump in, keep in mind that ambient temperature, humidity, and many other factors out of your control can have an adverse effect on how chocolate decides to temper (or not). Hey, why do you think they call it “temper”? So, the first time you attempt to temper chocolate, wait till your kitchen is nice and cool and you have plenty of time. The oven should be off; it shouldn’t be pouring buckets outside (humidity is bad, mmkay?), and the ideal ambient temperature is about 60˚ to 65˚F (16˚ to 18˚C). Also, make sure you have 2 to 3 extra cups of chocolate on hand; if you need to start over, it’s useful to have some additional seed chocolate ready to go. Practice makes perfect, and once you do get it—which you will—it’ll be that much more rewarding.
In this recipe, we’re giving you five pounds to start, because it’s easier to temper larger amounts of chocolate; and five pounds is the largest amount you’ll need for the recipes in this book (it’ll be enough for enrobing candy bars, once you get to that). But really, you can temper any amount of chocolate you need—just remember that about one-third of the total weight should be set aside for seeding. When you’re done tempering your chocolate, you can do pretty much anything you want with it!
Special Equipment
- Rubber or heatproof spatula
- Tempering thermometer
Instructions
- Fill a large (6-quart) saucepan with water to a depth of about 1 inch. Bring it to a boil, uncovered, over high heat.
- Meanwhile, if using a block of chocolate, chop it with a serrated knife.
- Once the water has come to a boil, turn off the heat and set a medium-size heatproof bowl on top. Add about two-thirds of the chopped chocolate and allow it to sit for 5 to 10 minutes, stirring only occasionally with a heatproof spatula (you want to make sure the chocolate on the bottom of the bowl doesn’t get too hot, but if you stir the whole time, the heat will disperse too much and the chocolate won’t melt all the way).
- Once all the pieces have melted completely, insert the tempering thermometer and check the temperature; for dark chocolate you want it to be around 108°F/42°C; milk, 106°F/41°C; white, 104°F/40°C. If you go a little bit over these temperatures, that’s fine; too much under, though, and you won’t melt all the “bad” crystals in the cocoa butter. No thermometer? No problem. Dab a bit of the chocolate on your lip instead. At the melted stage, the chocolate should feel distinctly warm—not just lukewarm.
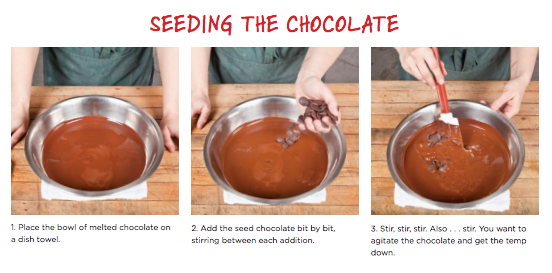
- Once your chocolate has reached the desired temperature, CAREFULLY lift the bowl off the pot, and place it on top of a folded dish towel. You’ll want to wipe the moisture off the bottom and side of the bowl; this will lessen the risk of accidentally getting some in the chocolate, which is not okay. (Water will cause the chocolate to “seize,” or get lumpy and unworkable, and you’ll have to make it into—quelle horreur!—chocolate sauce instead.)
- Now add some of the reserved chocolate, about ¼ cup at a time, stirring constantly until the addition has been incorporated completely and there are no more lumps. You’ll want to stir like your life depends on it here, both to agitate the chocolate (the more it is agitated, the nice-n-shinier it’ll be) and to reduce its temperature. You want to get it down to about 90°F/32°C for dark; 88°F/31°C for milk; 86°F/30°C for white. (Starting to notice a pattern here? More cocoa solids require working at higher heat.) If you’re doing the lip test, you’ll want it to feel distinctly cool. Agitating not only encourages the right crystals to form, it also helps cool the chocolate more rapidly. This will take you about 15 minutes.
- Once the chocolate is close to the desired temperature (a degree or two above is fine), test it: Dip a teaspoon in the chocolate, then stick the dipped spoon on a piece of wax paper and allow it to set up for a few minutes. (If your kitchen is warm, you can put it in the fridge for a bit—2 minutes for dark, more like 5 for milk and white.) If the test sets up completely—a little glossy, not tacky to the touch, not streaky or blotchy—then huzzah and kudos to you! You just tempered chocolate.
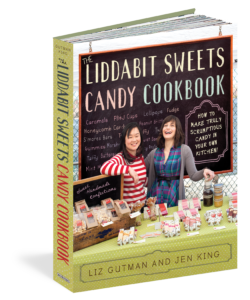 About the Book:
Chocolate Mint Meltaways. PB&J Cups. Chai Latte Lollipops. Cherry Cordials, Spicy Pralines, and the cult favorite, Beer and Pretzel Caramels. Plus candy bars—the Twist Bar, the Nutty Bar, the Coconut-Lime Bar, inspired by commercial favorites (Snickers, Twix) but taken to new heights of deliciousness. And the French-style sea salt caramels that Daniel Boulud claimed were better than those he’d tasted in France. Yes, you really can make these sublime treats at home thanks to Liz Gutman and Jen King, the classically trained pastry chefs who traded in their toques to make candy—and now lead the candy-craft movement as proprietors of Liddabit Sweets, the Brooklyn confectionery whose products have drawn the attention of The Early Show, Fox and Friends, the Cooking Channel, O, The Oprah Magazine, Real Simple, Food & Wine, GQ, and more.
Doing for candymaking what Jeni’s Splendid Ice Cream did for ice cream, The Liddabit Sweets Candy Cookbook is the perfect marriage of sugar and spice, packed with 75 foolproof recipes, full-color photographs, and lots of attitude. The approachable recipes, offbeat humor, and step-by-step photographs remind us that home
candymaking is meant to be fun. The flavor combinations, down-to-earth advice, and easy directions make this the guide to turn to whether making candy for a treat, a holiday, a gift, or a bake sale.
Buy the Book
Amazon | B&N | Indiebound | Workman


No Comments