Excerpted from Amy Anderson’s Washi Tape Crafts.
This party embellishment is ideal as a wall decoration, the background of a photo booth, or as a bunting at the base of a cake table. These are so easy to make that you can complete several of them while watching your favorite chick flick. Use wide washi tape for the biggest impact.
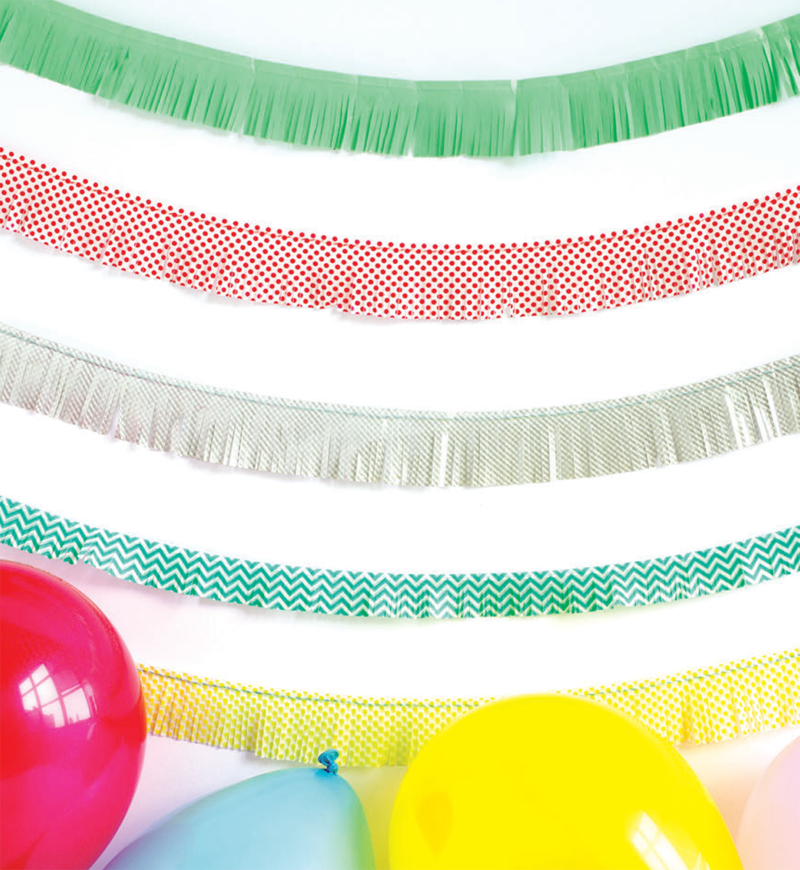
Washi Tape Fringed Party Banner
Supplies
- Washi tape, in 3″ width
- Ruler
- Clear tape
- Baker’s twine
- Scissors
Instructions
- Place an 8″ to 10″ strip of washi tape onto your work surface, sticky side up. Use clear tape to anchor it temporarily.
- Place the baker’s twine on the washi tape, about ½” down from one of the long edges, allowing at least 12″ of twine to extend from one side of the tape, for hanging.
- Press a second strip of washi tape over the top of the first piece, sandwiching the baker’s twine between them. Trim the clear tape.
- Cut fringe into the washi tape strip, starting from the edge opposite the twine and stopping 1″ from the twine (be sure not to cut through the twine).
- Repeat Steps 1 through 4 with as many washi tape strips as you need for the desired banner length. Repeat Steps 1 through 5 to create additional banners. Hang them up using the twine that extends from either end.


No Comments